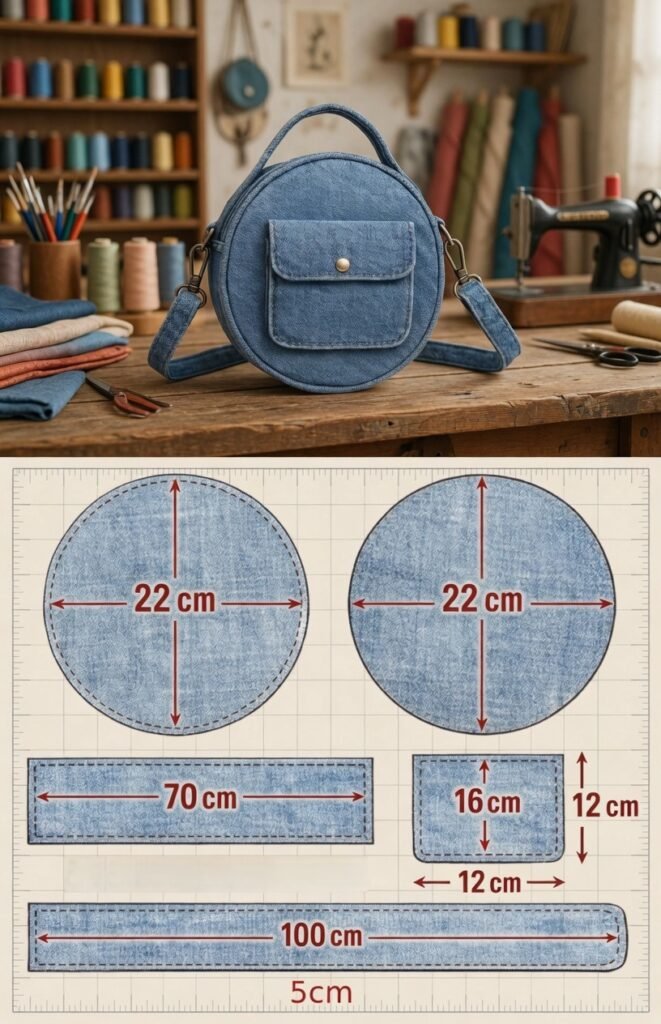
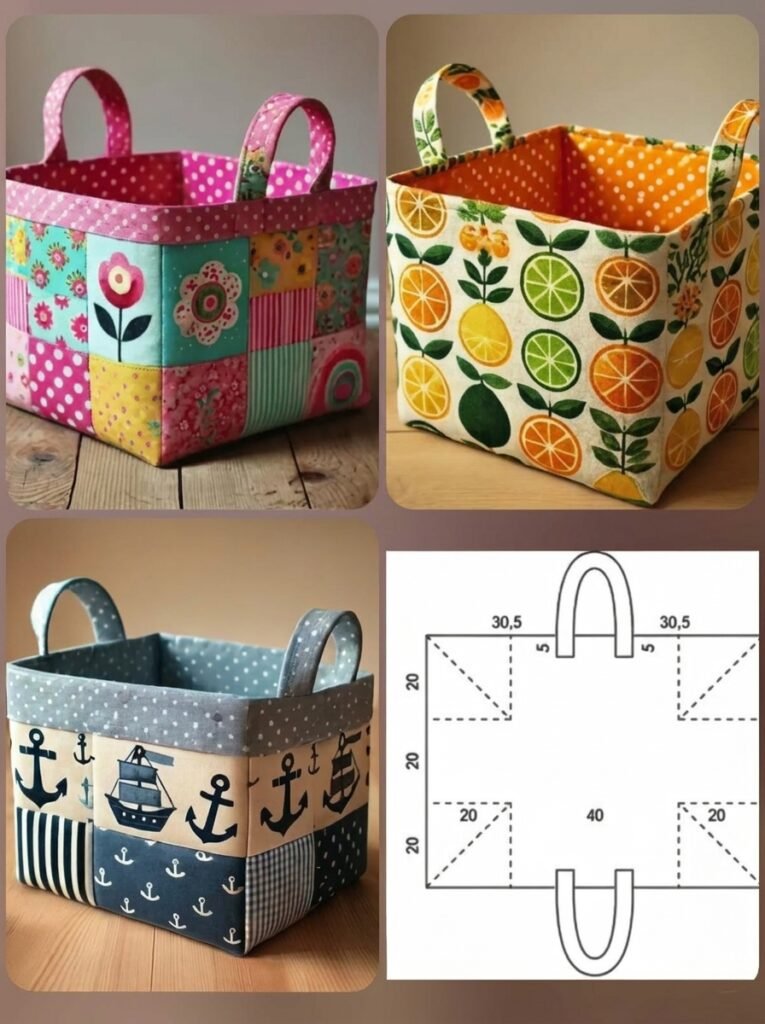
Fabric Car Trash Pattern is a practical and beginner-friendly sewing project that helps keep your vehicle clean while adding a personal handmade touch to your car’s interior. Whether you spend hours commuting, travel frequently with your family, or simply enjoy creating useful sewing projects, the Fabric Car Trash Pattern is an excellent choice. This reusable fabric trash bag is easy to customize with your favorite colors and prints, making it both functional and stylish for everyday use.
One of the greatest advantages of the Fabric Car Trash Pattern is its simplicity. Unlike many sewing projects that require advanced techniques, this design relies on basic cutting, straight stitching, and careful construction. Even beginners can complete the project successfully with a sewing machine and a few common sewing supplies. More experienced sewists can personalize the design by adding pockets, waterproof linings, decorative embroidery, or adjustable straps to suit their own needs.
In this complete guide, you will learn how to sew a durable Fabric Car Trash Pattern from start to finish using easy-to-follow instructions. Every stage of the project has been explained clearly to help you achieve professional-looking results. From selecting the right fabrics and preparing the pieces to assembling the bag, attaching the hanging strap, finishing the seams, and maintaining the finished organizer, this tutorial will give you everything you need to create a useful accessory that makes every trip more organized.
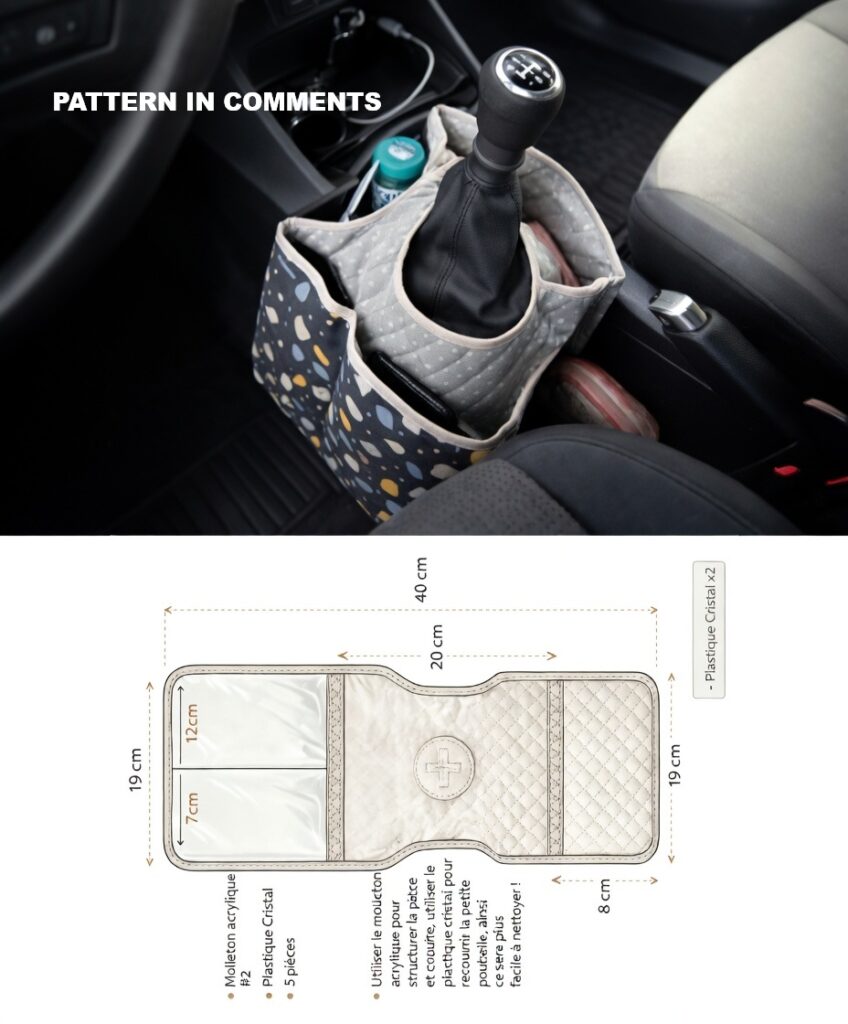
Gather Your Materials and Prepare the Fabric
Before beginning your Fabric Car Trash Pattern, collect all the sewing supplies you will need. Prepare quilting cotton or canvas fabric for the exterior, lining fabric, interfacing, coordinating thread, scissors or rotary cutter, cutting mat, ruler, sewing machine, pins or clips, and an iron. Having everything ready before sewing helps make the entire process more enjoyable.
Choose durable fabrics that can withstand daily use inside a vehicle. Canvas, denim, heavy cotton, or upholstery-weight cotton are excellent choices for the exterior because they provide strength while maintaining an attractive appearance. If you prefer lighter fabrics, reinforce them with medium-weight fusible interfacing.
For the lining, consider using a waterproof or water-resistant material whenever possible. This helps protect the outer fabric from accidental spills or moisture while making the trash bag much easier to clean after regular use.
Wash, dry, and press all fabrics before cutting. Prewashing removes excess dye and reduces the possibility of shrinkage after the project has been completed. Pressed fabric also allows for much more accurate cutting and sewing.
Carefully measure and cut every fabric piece according to your chosen dimensions. Accurate cutting is one of the most important steps because evenly sized pieces produce cleaner seams and a better-fitting finished bag.
Lay every cut piece on your work surface before sewing. Double-check the placement of the exterior fabric, lining, interfacing, and strap pieces to ensure nothing has been overlooked before moving to the construction stage.
Step-by-Step Instructions to Sew the Fabric Car Trash Pattern
Begin by attaching the fusible interfacing to the wrong side of the exterior fabric following the manufacturer’s instructions. The added structure helps the trash bag maintain its shape while hanging inside the vehicle.
Place the exterior pieces with right sides together and sew along the sides and bottom using a consistent quarter-inch seam allowance. Backstitch at both ends of every seam to improve durability, especially since this project will receive frequent daily use.
Repeat the same process for the lining pieces, but leave a small opening along the bottom edge. This opening will later be used to turn the project right side out after the exterior and lining have been joined together.
If your Fabric Car Trash Pattern includes boxed corners for extra capacity, flatten each bottom corner, measure evenly, and sew across the marked line. Trim away the excess fabric after stitching to reduce bulk inside the finished bag.
Prepare the hanging strap by folding the long edges toward the center, pressing carefully, then folding again before stitching along both long edges. This creates a sturdy strap capable of supporting the weight of the filled trash bag.
Place the completed lining inside the exterior with right sides facing each other. Sew completely around the upper edge, turn the project right side out through the lining opening, stitch the opening closed, and topstitch around the upper edge for a polished finish.
Helpful Sewing Tips for a Durable and Professional Finish
Choose strong polyester thread rather than lightweight cotton thread. Polyester thread provides greater durability for projects designed to handle repeated daily use and occasional heavier loads.
Reinforce the hanging strap with multiple rows of stitching where it attaches to the bag. This simple step greatly increases the overall strength of the finished organizer and helps prevent future tearing.
Consider adding a snap, button, hook-and-loop closure, or drawstring at the top opening. These closures help contain trash while driving and prevent lightweight items from accidentally falling out.
Decorate the exterior using appliqué, embroidery, decorative labels, quilt blocks, or colorful patchwork. These creative additions allow you to personalize the Fabric Car Trash Pattern while making it coordinate with your vehicle’s interior.
Use coordinating or contrasting thread depending on the desired appearance. Matching thread creates a clean, subtle finish, while contrasting thread highlights decorative topstitching and adds visual interest.
Always press your seams after every major construction step. Proper pressing helps the fabric lie flat, reduces bulk, improves accuracy, and gives the finished trash bag a much more professional appearance.
Creative Ways to Use and Customize Your Fabric Car Trash Pattern
Although designed primarily as a vehicle trash bag, the Fabric Car Trash Pattern can easily be adapted for many other practical purposes. It also works well as a storage bag for toys, travel accessories, reusable shopping bags, or pet supplies.
Create several versions using seasonal fabrics for holidays or special occasions. Floral prints brighten spring, patriotic fabrics celebrate summer, autumn prints bring warmth to fall, and festive winter fabrics make thoughtful handmade gifts.
Add exterior pockets for storing tissues, hand sanitizer, wet wipes, or small travel essentials. These additional storage features increase the functionality of the organizer without making construction significantly more difficult.
If you frequently travel with children, consider making multiple matching trash bags so every passenger has a convenient place to dispose of wrappers, tissues, or small pieces of litter during long road trips.
For added convenience, include a removable waterproof liner that can easily be washed or replaced when necessary. This feature keeps the outer fabric cleaner while extending the life of the finished project.
Once your Fabric Car Trash Pattern is complete, simply hang it behind the front seat, around the headrest, or attach it to another convenient location inside your vehicle. Empty it regularly and wash it whenever needed to keep your car neat and organized.
Frequently Asked Questions
Is the Fabric Car Trash Pattern suitable for beginners?
Yes. The Fabric Car Trash Pattern is an excellent beginner sewing project because it mainly uses straight seams, basic construction techniques, and simple finishing methods that help build sewing confidence.
What fabric works best for this project?
Canvas, denim, upholstery-weight cotton, or quilting cotton reinforced with interfacing all work well. Waterproof lining fabric is highly recommended for easier cleaning and better durability.
Can I wash the finished trash bag?
Absolutely. Most versions made with cotton fabrics can be machine washed using a gentle cycle. Always follow the care instructions for the fabrics used in your specific project.
How should I hang the trash bag inside my car?
Most sewists attach the bag using a fabric strap that wraps around the headrest posts. You can also add adjustable buckles, snaps, or hook-and-loop fasteners depending on your preferred installation method.
Can I make the bag larger?
Yes. The dimensions can easily be adjusted to create a larger capacity trash bag for family vehicles, SUVs, or road trips that require additional storage space.
Should I add interfacing?
Interfacing is highly recommended because it strengthens the fabric, helps the bag maintain its shape, and improves the overall durability of the finished organizer.
Can I personalize the design?
Definitely. Many people add embroidery, appliqué, quilt blocks, decorative labels, colorful piping, or matching accessories to create a unique and customized project.
Is this project suitable as a handmade gift?
Yes. A finished Fabric Car Trash Pattern makes a thoughtful gift for new drivers, parents, commuters, travelers, or anyone who enjoys practical handmade accessories for everyday use.
Conclusion
The Fabric Car Trash Pattern is a simple yet highly practical sewing project that combines functionality, durability, and creativity. Throughout this tutorial, you learned how to prepare your fabrics, reinforce the exterior, sew the lining, construct the hanging strap, assemble the organizer, strengthen important seams, and personalize the finished project with decorative details. These easy step-by-step instructions make the pattern accessible for beginners while still providing plenty of opportunities for experienced sewists to customize the final result.
As you gain confidence with the Fabric Car Trash Pattern, you can experiment with different fabric collections, waterproof linings, storage pockets, adjustable straps, and decorative quilting techniques to create organizers that perfectly match your personal style and vehicle. Handmade accessories like this not only help keep your car clean but also showcase your sewing skills in a practical way. If you enjoyed this tutorial, please leave your honest opinion and share your suggestions for future sewing projects. Your feedback is always appreciated and helps inspire even more creative ideas for the sewing community.