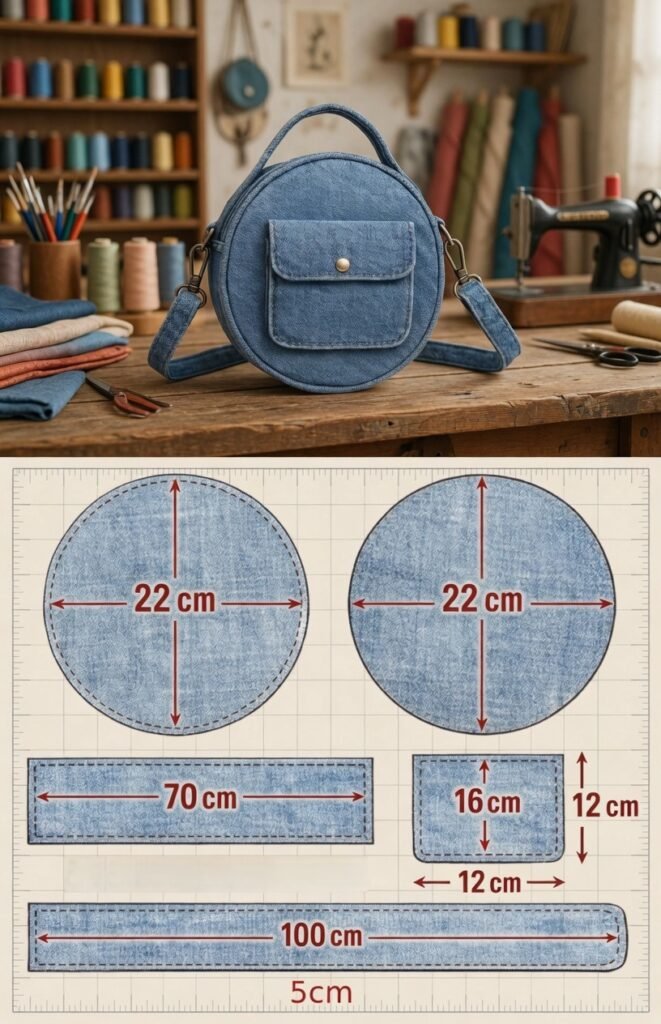
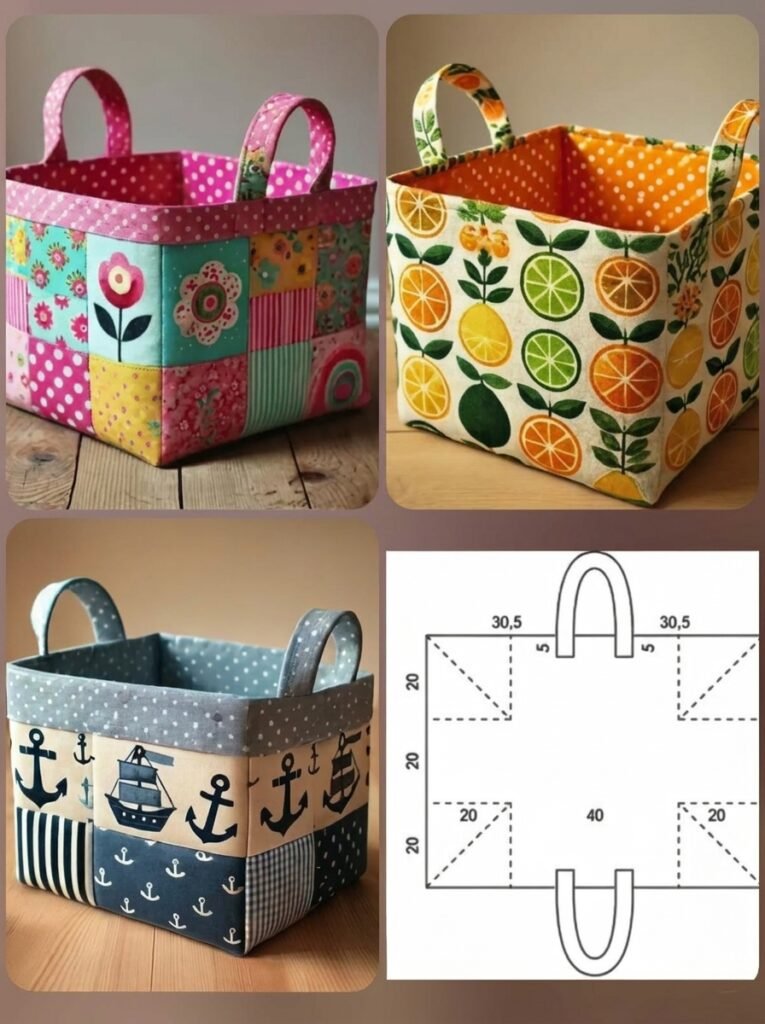
Quilted Makeup Pouch Pattern is a practical and creative sewing project that combines the beauty of quilting with the convenience of a handmade zippered pouch. Compact enough to carry inside a handbag or suitcase yet spacious enough for everyday essentials, a quilted makeup pouch can hold cosmetics, brushes, skincare products, small accessories, and other personal items. The quilted exterior gives the pouch a soft, structured appearance while also providing extra protection for everything stored inside. Best of all, this project offers plenty of opportunities to experiment with favorite fabrics, patchwork combinations, quilting designs, and decorative details.
Making a Quilted Makeup Pouch is also a wonderful way to use smaller pieces of fabric left over from previous quilting projects. Instead of keeping beautiful scraps hidden away, you can combine them into a colorful patchwork exterior or select two coordinating fabrics for a cleaner and simpler design. The addition of batting gives the pouch its characteristic padded texture, while a lining creates a neat interior that hides the construction seams. A zipper across the top keeps everything securely stored and gives the finished pouch a polished, functional appearance.
This Quilted Makeup Pouch Pattern can be approached by confident beginners as well as experienced sewists. The basic techniques include preparing a quilt sandwich, sewing straight quilting lines, installing a zipper, adding lining fabric, creating boxed corners, and finishing the interior neatly. Measurements can easily be adjusted to create anything from a tiny cosmetic case to a larger travel organizer. The tutorial below walks through the entire construction process so you can understand not only how the pieces are assembled but also why each step contributes to the structure, durability, and appearance of the finished pouch.
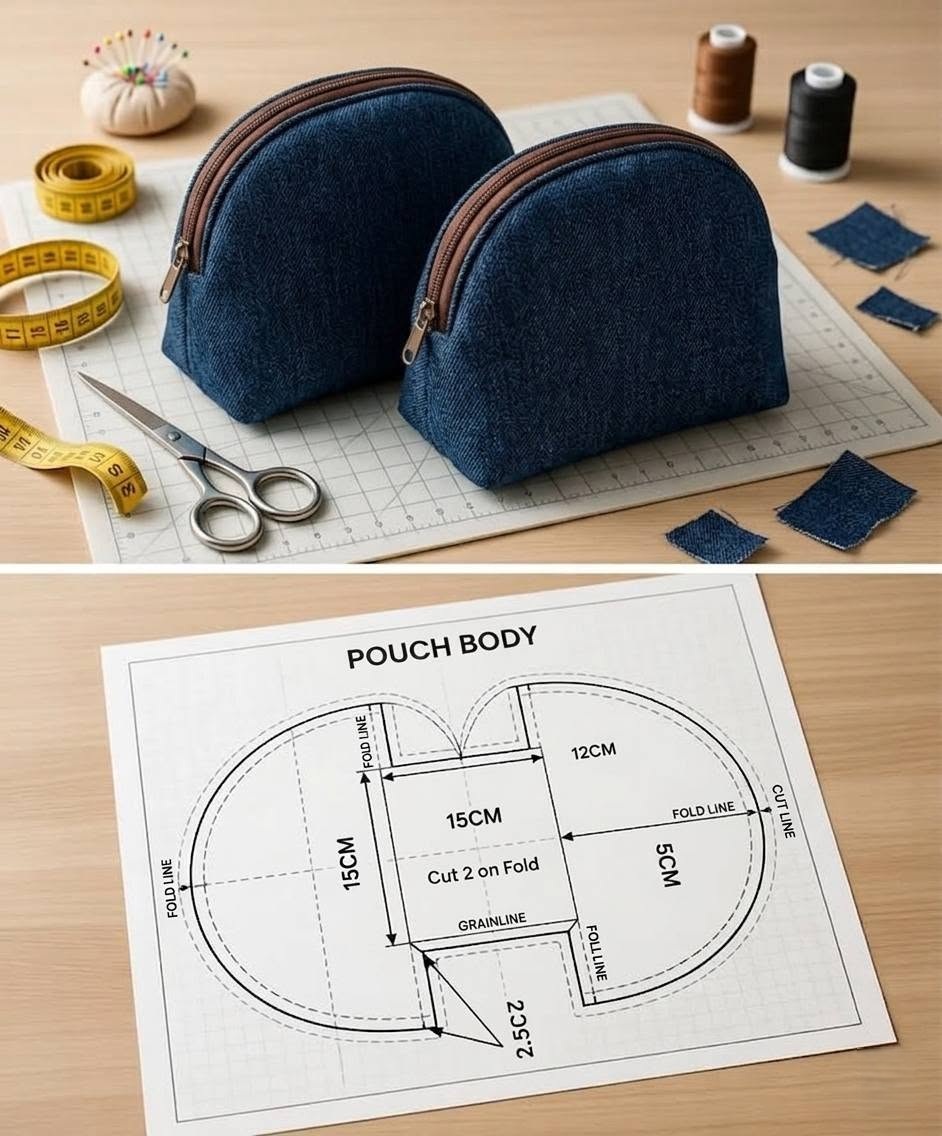
Materials and Fabric Preparation for the Quilted Makeup Pouch
Begin your Quilted Makeup Pouch Pattern by selecting fabric for the exterior. Quilting cotton is an excellent choice because it is easy to cut, press, and sew. You can use one fabric for both sides or combine several coordinating pieces to create a patchwork design.
You will also need fabric for the lining. A tightly woven cotton works well and keeps the interior lightweight. Consider choosing a lighter lining color because it can make small cosmetics and accessories easier to see inside the finished pouch.
Batting provides the soft quilted texture and additional structure. Lightweight cotton or polyester batting works well for most cosmetic pouches. Avoid extremely thick batting unless you specifically want a bulky, highly padded finished project.
Prepare a zipper that is slightly longer than the planned opening of the pouch. Working with a zipper that extends beyond the fabric edges can make installation easier because the zipper pull can be moved away from the sewing area when necessary.
Other useful supplies include coordinating thread, a sewing machine, zipper foot, quilting ruler, rotary cutter, cutting mat, fabric scissors, clips or pins, and an iron. A removable fabric marker can also help you plan evenly spaced quilting lines.
For a medium pouch, you might begin with two exterior rectangles, two matching pieces of batting, and two lining rectangles approximately 10 by 7 inches. These dimensions are only a practical starting point and can be changed according to the desired finished size.
How to Quilt the Fabric and Install the Zipper
Place one exterior rectangle right side up over a matching piece of batting. Repeat with the second exterior piece. If desired, add a temporary backing layer beneath the batting, although the lining will later cover the interior construction.
Decide on a quilting design. Simple parallel lines are perfect for beginners and create a clean modern appearance. Diagonal lines can form diamonds, while gentle curves provide a softer look. Mark guidelines lightly before beginning if you need help maintaining consistent spacing.
Sew across the first exterior piece following the marked lines. Start near the center and work gradually outward to reduce shifting. Repeat the same quilting design on the second panel so both sides of your Quilted Makeup Pouch coordinate.
After quilting, place the two panels on the cutting mat and trim them to identical dimensions. Quilting can slightly distort or shrink fabric, so trimming after this stage creates clean edges and makes later assembly much easier.
To install the zipper, place one exterior panel right side up. Position the zipper along the upper edge with its right side facing the exterior fabric. Place one lining piece over the zipper with its right side facing downward, creating a layered zipper sandwich.
Clip the layers together and sew along the zipper edge using a zipper foot. Fold the exterior and lining away from the zipper and press carefully. Repeat the process with the remaining exterior and lining pieces on the opposite zipper tape. Topstitch near both sides of the zipper for a neat zippered pouch finish.
Sewing the Pouch and Creating Boxed Corners
Before sewing the pouch together, open the zipper approximately halfway. This is extremely important because the zipper opening will later allow you to turn the completed Quilted Makeup Pouch right side out.
Bring the two quilted exterior panels right sides together and align their edges. At the same time, place the lining pieces right sides together. The zipper should sit between the exterior and lining sections.
Clip around the entire perimeter. Make sure the zipper seams are aligned where the exterior and lining meet. Sew around the edges using a consistent seam allowance, but leave several inches unstitched along the bottom of the lining.
For a simple flat pouch, you could stop at this stage. However, boxed corners create a wider base and provide additional storage space. To form them, pinch one lower exterior corner so the side seam aligns with the bottom seam.
Measure approximately one inch or another desired depth from the corner point and mark a line perpendicular to the seam. Sew directly across this line, then trim away the excess corner fabric while leaving a safe seam allowance. Repeat on the other exterior corner.
Create matching boxed corners in the lining using the same measurements. Consistency is important because the lining needs to fit naturally inside the exterior. Once all corners are complete, check your seams before turning the pouch through the opening in the lining.
Finishing and Customizing Your Quilted Makeup Pouch
Carefully pull the pouch through the opening in the lining and then through the partially opened zipper. Work slowly around the corners to avoid placing unnecessary stress on the zipper or seams.
Use your fingers or a blunt turning tool to shape the corners. Avoid using anything extremely sharp because it can push through the fabric. Press the exterior gently to help define the finished quilted pouch shape.
Close the opening in the lining by folding the raw edges inward and stitching close to the folded edge. For an especially discreet finish, the opening can be sewn by hand, although machine stitching is faster and remains hidden inside the pouch.
Push the lining completely inside and arrange it around the boxed corners. Check that it sits smoothly without twisting. Give the zipper several test openings and closings to ensure that no lining fabric catches in the zipper teeth.
Personalization can make this Quilted Makeup Pouch Pattern especially fun. Add a small fabric tab near the zipper, use contrasting thread for the quilting, create a patchwork exterior, or combine different prints on each side. Decorative labels can also be incorporated into the exterior seam during construction.
The same construction technique can be used to create coordinated sets in several sizes. A small pouch can hold lipstick and compact cosmetics, a medium version can organize daily essentials, and a larger quilted bag can store brushes, skincare products, or travel accessories.
FAQ About the Quilted Makeup Pouch Pattern
Is the Quilted Makeup Pouch Pattern suitable for beginners?
Yes. A beginner who is comfortable with basic straight stitching can successfully complete this project. The zipper installation and boxed corners may require additional attention, but both are useful techniques worth learning.
What is the best fabric for a quilted makeup pouch?
Quilting cotton is one of the easiest choices because it is stable, lightweight, and available in many colors and prints. Slightly heavier fabrics may also work if your sewing machine can comfortably handle the additional layers.
What batting should I use?
Lightweight cotton or polyester batting provides softness without making the pouch excessively bulky. Fusible fleece can also provide additional structure depending on the desired result.
Can I make the pouch without batting?
Yes, but the finished bag will have less structure and will not have the characteristic padded appearance of a Quilted Makeup Pouch.
How can I make the pouch larger?
Increase the dimensions of the exterior, batting, and lining pieces equally. Remember that deeper boxed corners will also affect the final height and width.
Why should the zipper be left partially open before sewing the pouch?
The opening provides a way to turn the finished pouch right side out. Forgetting this step can make turning the project much more difficult.
What is a zipper foot?
A zipper foot is a sewing machine presser foot designed to stitch close to zipper teeth and other raised edges. It makes zipper installation significantly easier.
Do I need boxed corners?
No. Boxed corners are optional. Without them, the project becomes a flatter zipper pouch. Adding them creates depth and allows the pouch to hold bulkier items.
Can I make the exterior from fabric scraps?
Absolutely. A patchwork makeup pouch is an excellent way to use leftover quilting cotton. Sew scraps together first, then trim the resulting panels to the required dimensions before quilting.
How do I prevent the lining from getting caught in the zipper?
Press the lining away from the zipper tape after installation and topstitch close to the seam. This helps keep loose fabric away from the zipper teeth.
Can I wash a quilted makeup pouch?
This depends on the materials used. If all fabrics, batting, thread, and zipper are washable, gentle cleaning may be possible. Always consider the care requirements of every material included in the project.
What else can I store in this pouch?
The design is not limited to makeup. It can hold sewing notions, art supplies, charging cables, small travel essentials, pencils, medications in their original packaging, or other everyday accessories.
Conclusion
The Quilted Makeup Pouch Pattern is a satisfying sewing project that combines practical construction techniques with plenty of creative possibilities. Starting with a few fabric rectangles, batting, lining, and a zipper, you can create a useful organizer with a soft quilted exterior and a professionally finished interior.
Throughout this tutorial, you learned how to prepare the materials, create quilted fabric panels, trim them accurately, install a zipper, attach the lining, sew the pouch body, construct boxed corners, turn the project right side out, and complete the interior. These techniques are valuable because they can also be adapted to many other handmade bags, cases, and organizers.