
Beautiful Crocheted Ladybug Pattern is a delightful and creative crochet project that allows you to transform simple yarn into an adorable and eye-catching little insect. If you are searching for a fun, beginner-friendly project that delivers charming results, learning the Beautiful Crocheted Ladybug Pattern is a perfect choice. These tiny crocheted ladybugs are not only cute but also versatile, making them ideal for decorations, toys, appliqués, accessories, and handmade gifts.
One of the most appealing aspects of the Beautiful Crocheted Ladybug Pattern is how it combines simplicity with creativity. Using just a few basic stitches, you can create a beautifully shaped piece that looks detailed and professional. The classic red-and-black color combination makes the ladybug instantly recognizable, but there are endless opportunities to customize and personalize your design.
In this complete and detailed guide, you will learn everything about the Beautiful Crocheted Ladybug Pattern, including materials, step-by-step instructions, expert techniques, creative ideas, and a comprehensive FAQ section. By the end of this article, you will feel confident and inspired to create your own crocheted ladybugs from start to finish.
Materials and Tools for Beautiful Crocheted Ladybug Pattern
Before starting your Beautiful Crocheted Ladybug Pattern, it is important to gather all the necessary materials. Choosing the right supplies will ensure that your ladybug looks neat, well-shaped, and durable.
The most important material is yarn. Cotton yarn is highly recommended because it provides structure and helps the ladybug maintain its shape. You will typically need red yarn for the body and black yarn for the head and spots. However, you can also experiment with different color combinations for a more creative look.
Selecting high-quality yarn will make a noticeable difference in your final result. Smooth yarn allows for better stitch definition, which is especially important in small projects like this.
You will also need a crochet hook that matches your yarn size. For most Beautiful Crocheted Ladybug Pattern projects, a hook between 2.0 mm and 3.5 mm works best. Using a smaller hook creates tighter stitches, which prevents stuffing from showing through.
Other essential tools include scissors for cutting yarn, a yarn needle for sewing and weaving in ends, and stitch markers to help keep track of your rounds.
Polyester fiberfill is needed for stuffing. This gives your ladybug its soft, rounded shape and helps it maintain its structure.
Optional materials include safety eyes, beads, or embroidery thread for facial features. You can also use felt pieces for added details.
Preparing your materials in advance will make your Beautiful Crocheted Ladybug Pattern process smoother and more enjoyable.
Step-by-Step Instructions for Beautiful Crocheted Ladybug Pattern
To begin your Beautiful Crocheted Ladybug Pattern, start with the body using red yarn. Create a magic ring and work single crochet stitches into the ring. Begin with a small number of stitches and gradually increase in each round to form a flat circle.
As you continue crocheting, maintain the stitch count for several rounds to build height and create a dome shape. This forms the rounded top of the ladybug.
Once the top is complete, you can either switch to black yarn for the underside or create a separate base piece. If working in one piece, begin decreasing stitches to close the shape.
Before closing completely, lightly stuff the body with fiberfill. Add stuffing gradually to achieve a firm yet soft texture. Avoid overstuffing, as this can distort the shape.
Continue decreasing stitches until the opening is fully closed. Fasten off the yarn and weave in the ends securely.
Next, create the head if it is separate. Using black yarn, crochet a small round piece and attach it to the front of the body.
For the spots, you have several options. You can embroider small black circles directly onto the red surface, or crochet tiny circles and sew them on. These spots are essential for completing the look of your Beautiful Crocheted Ladybug Pattern.
Finally, add eyes using safety eyes or embroidery. You can also stitch a small smile for extra personality. Your ladybug is now complete.
Tips and Techniques for a Professional Finish
When working on the Beautiful Crocheted Ladybug Pattern, there are several techniques that can help you achieve a polished and professional result.
Maintaining consistent tension is one of the most important factors. Even stitches ensure a smooth and uniform appearance.
Using a smaller hook is highly recommended. Tight stitches help prevent gaps and keep the stuffing from showing through.
Take your time when changing colors. Clean transitions between red and black yarn will improve the overall look of your ladybug.
When stuffing, add fiberfill gradually. This allows you to control the shape and avoid lumps or uneven areas.
Pay attention to symmetry when placing spots and eyes. Balanced placement makes your Beautiful Crocheted Ladybug Pattern more visually appealing.
Secure all parts firmly, especially if the ladybug will be used as a toy or keychain.
Weave in all ends carefully for a clean and durable finish.
Finally, practice patience. Small details make a big difference in the final result.
Creative Ideas and Customization Options
One of the most exciting aspects of the Beautiful Crocheted Ladybug Pattern is the ability to customize your design. While the traditional red-and-black ladybug is classic, you can experiment with a wide range of colors.
Try creating ladybugs in pastel shades for a softer look, or use bright and bold colors for a playful style. You can even make themed ladybugs for holidays or special occasions.
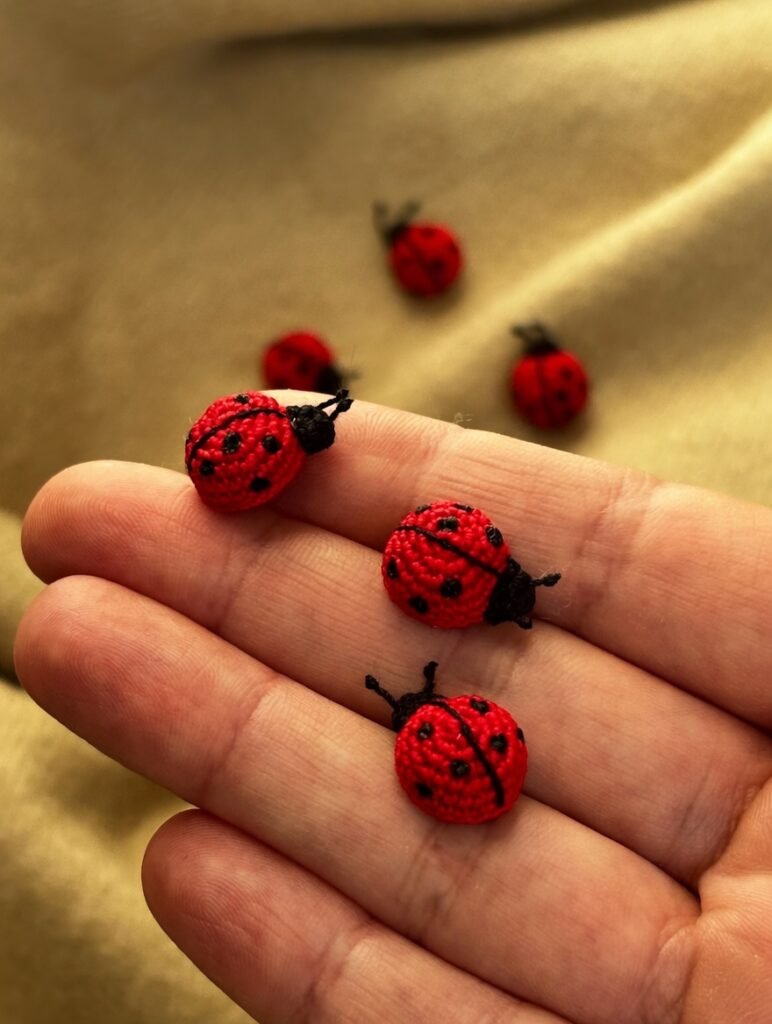
Changing the size of your ladybug is another fun option. Use thicker yarn and a larger hook for bigger designs, or fine thread and a smaller hook for miniature versions.
You can also add accessories such as tiny bows, flowers, or hats. These details give your ladybug a unique personality.
Crocheted ladybugs can be used in many different projects. Attach them to blankets, hats, bags, or clothing for a decorative touch.
They are also perfect for making keychains, magnets, or brooches. This makes your Beautiful Crocheted Ladybug Pattern both decorative and functional.
Creating sets or collections of ladybugs in different colors and sizes is another great idea. This is especially useful if you plan to sell your handmade items.
FAQ About Beautiful Crocheted Ladybug Pattern
Is this pattern suitable for beginners?
Yes, the Beautiful Crocheted Ladybug Pattern is beginner-friendly and uses basic crochet techniques.
How long does it take to make one ladybug?
It usually takes between 30 minutes to 1 hour, depending on your experience.
What type of yarn is best?
Cotton yarn is ideal because it holds shape well and provides a clean finish.
Do I need stuffing?
Yes, polyester fiberfill is needed to create the 3D shape.
Can I use different colors?
Yes, you can customize your ladybug with any colors you like.
Can I sell crocheted ladybugs?
Yes, they are popular handmade items and great for selling.
Conclusion
The Beautiful Crocheted Ladybug Pattern is a fun and rewarding project that allows you to create adorable handmade pieces using simple materials. Throughout this guide, you learned how to choose materials, follow step-by-step instructions, apply professional techniques, and explore creative ideas.
By practicing the Beautiful Crocheted Ladybug Pattern, you can improve your crochet skills while creating something cute, meaningful, and versatile. These charming ladybugs are perfect for gifts, decorations, or personal collections.

