
Crochet Baby Shoe Pattern is one of the most rewarding crochet projects for anyone who loves creating beautiful handmade gifts for little ones. Soft, comfortable, and incredibly charming, a Crochet Baby Shoe Pattern is perfect for baby showers, newborn photography, first birthdays, or simply as a thoughtful keepsake for growing families. These tiny crochet shoes combine practicality with creativity, allowing crocheters to experiment with different colors, textures, and decorative details while creating something truly special.
One of the reasons the Crochet Baby Shoe Pattern remains one of the most popular baby crochet projects is its versatility. The same basic construction can be adapted into baby sneakers, slippers, sandals, booties, Mary Jane shoes, or elegant dress shoes simply by changing the stitch pattern or adding decorative elements. Because baby shoes require only a small amount of yarn, they are also an excellent project for using leftover yarn from previous crochet creations.
This complete guide will teach you everything you need to know about creating your own Crochet Baby Shoe Pattern from beginning to end. You will learn how to choose the best materials, understand the essential crochet stitches, follow a detailed step-by-step pattern, personalize your baby shoes with creative embellishments, and finish them professionally for lasting durability. Whether you are a beginner or an experienced crocheter, this project offers an enjoyable opportunity to improve your skills while making a beautiful handmade gift.
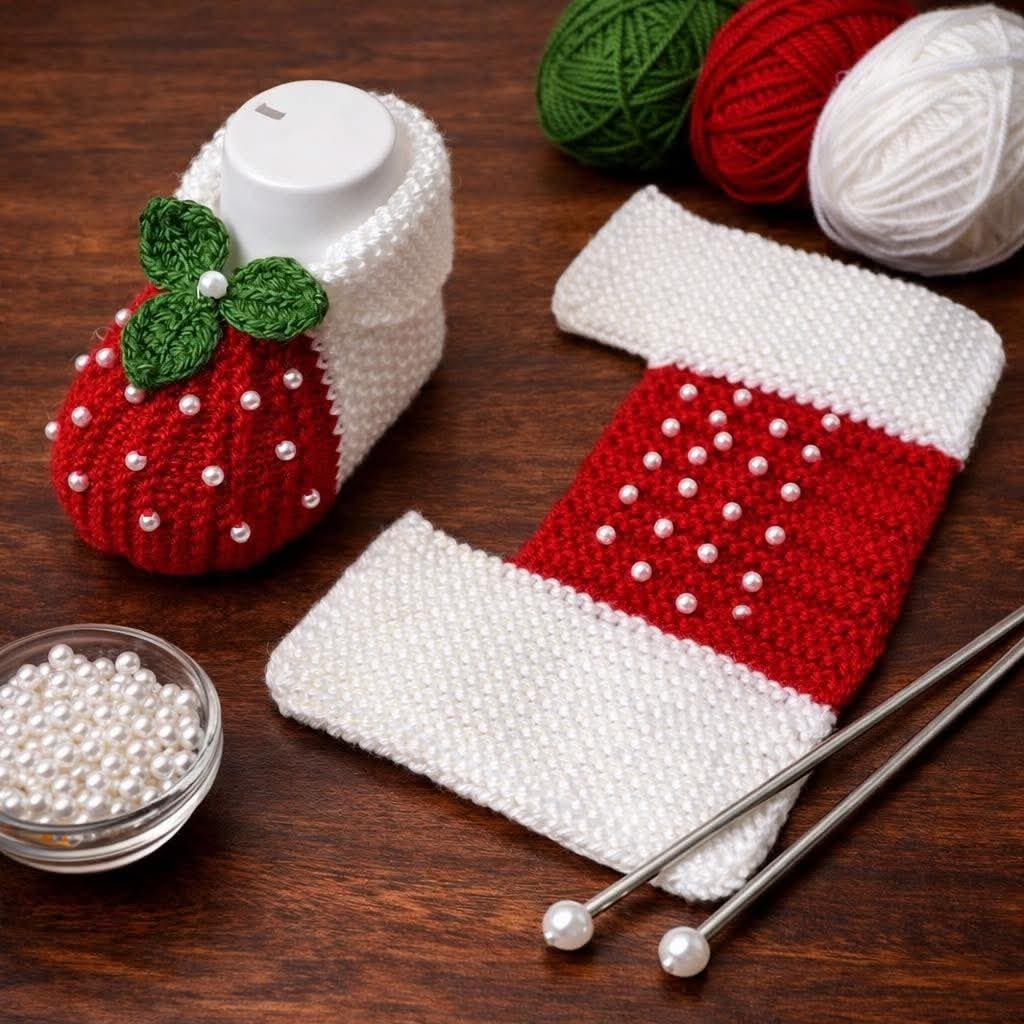
Materials and Essential Crochet Stitches for a Crochet Baby Shoe Pattern
Before starting your Crochet Baby Shoe Pattern, gather all the necessary materials. Preparing your supplies in advance helps ensure an enjoyable and organized crochet experience.
Soft cotton yarn or premium baby acrylic yarn is highly recommended because both fibers are gentle against delicate skin while providing excellent stitch definition. Choose yarn specifically labeled as suitable for baby projects whenever possible.
Select colors that suit your personal style or the occasion. Classic white, cream, pastel pink, baby blue, mint green, beige, lavender, or soft gray all create timeless baby shoes, while brighter colors produce playful and cheerful designs.
Use a crochet hook that matches your yarn weight. Most lightweight baby yarns work beautifully with hooks ranging from 3 mm to 4 mm. A slightly smaller hook helps create firm stitches that hold the shoe’s shape.
Additional supplies include scissors, a yarn needle, stitch markers, measuring tape, decorative buttons, satin ribbon, or small crochet flowers if you wish to personalize the finished shoes. Choose embellishments that are securely attached and appropriate for decorative use.
The primary stitches used in a Crochet Baby Shoe Pattern include chain (ch), slip stitch (sl st), single crochet (sc), half double crochet (hdc), double crochet (dc), increases, decreases, and working in both front and back loops. These stitches create a comfortable shoe with excellent structure.
Step-by-Step Crochet Baby Shoe Pattern Instructions
Every successful Crochet Baby Shoe Pattern begins with the sole. A carefully shaped sole provides the foundation for a comfortable and well-balanced baby shoe.
Step 1: Begin by crocheting a foundation chain that matches the desired baby shoe size. Work single crochet stitches along one side of the chain, increase around the end, continue along the opposite side, and increase again to form an oval sole.
Step 2: Crochet several additional rounds around the sole, placing increases at the toe and heel to maintain the smooth oval shape. This creates a sturdy foundation before building the sides of the shoe.
Step 3: Work one complete round using only the back loops. This creates a natural fold line where the shoe begins to rise from the sole.
Step 4: Continue crocheting rounds of single crochet or half double crochet without increasing. The sides gradually become taller, forming the body of the shoe while maintaining the original sole shape.
Step 5: Shape the toe by working carefully positioned decreases across the front section. Continue decreasing over several rounds until the toe closes neatly while leaving enough room for a comfortable fit.
Step 6: Finish the shoe by crocheting an ankle border using single crochet or decorative shell stitches. Add a strap, lace, ribbon, or button closure if desired. Weave in every loose yarn end securely and repeat the process to create the matching second shoe.
Creative Ways to Personalize Your Crochet Baby Shoe Pattern
One of the greatest advantages of the Crochet Baby Shoe Pattern is the endless opportunity for personalization. Every pair can become a unique handmade keepsake.
Experiment with different color combinations to create baby shoes suitable for every season. Soft neutrals offer timeless elegance, while bright colors create cheerful everyday footwear.
Add tiny crochet flowers, bows, stars, hearts, or animal appliqués to decorate the shoes. These simple embellishments make each pair even more charming without changing the basic construction.
Different stitch patterns also create unique textures. Moss stitch, puff stitches, or subtle ribbing can transform the appearance while maintaining softness and flexibility.
You can easily adapt the pattern into baby sneakers by adding crochet laces and a contrasting toe section. Likewise, adding ankle cuffs creates cozy baby boots for cooler weather.
Decorative edging such as picot stitches or shell borders provides a delicate finishing touch, especially for special occasion shoes intended for baby photos or celebrations.
Many crocheters enjoy creating complete baby gift sets using the same yarn. Matching hats, blankets, sweaters, mittens, bibs, and baby shoes make thoughtful handmade presents for baby showers or welcoming a newborn.
Finishing Techniques, Care, and Practical Uses for Your Crochet Baby Shoe Pattern
Professional finishing techniques ensure your Crochet Baby Shoe Pattern remains beautiful and comfortable for years as a treasured keepsake.
Carefully weave every loose yarn end using a yarn needle. Secure finishing helps prevent unraveling while creating a polished appearance.
Light blocking is optional but can improve the shape of the shoes. Gently dampen each shoe, shape it carefully by hand, and allow it to dry naturally.
If decorative buttons or bows are added, ensure they are sewn securely using strong thread. For very young babies, many crafters prefer embroidered or crocheted decorative details rather than removable embellishments.
Wash handmade baby shoes gently using mild detergent and cool water. Lay them flat to dry while reshaping them to preserve their original form.
Store finished baby shoes in a clean, dry location away from direct sunlight. Wrapping them in soft tissue paper helps maintain their shape until they are ready to be gifted or displayed.
The Crochet Baby Shoe Pattern makes a beautiful handmade gift for baby showers, newborn celebrations, christenings, birthdays, maternity photography, nursery decorations, or family keepsake collections. Their timeless appeal ensures they will be treasured long after the baby has outgrown them.
FAQ About Crochet Baby Shoe Pattern
Is the Crochet Baby Shoe Pattern suitable for beginners?
Yes. Beginners who understand basic crochet stitches can successfully complete this project by following the construction steps carefully.
What yarn is best for crochet baby shoes?
Soft cotton yarn or baby acrylic yarn is highly recommended because it is gentle, lightweight, washable, and comfortable against delicate skin.
How do I choose the correct shoe size?
Measure the baby’s foot or use a standard baby sizing guide before beginning the foundation chain to ensure a comfortable fit.
Can I make larger baby shoes?
Absolutely. Simply increase the foundation chain length and add additional rounds while maintaining the overall shaping sequence.
Are crochet baby shoes meant for walking?
Soft crochet baby shoes are generally designed for infants who are not yet walking. For older babies, additional non-slip features may be added if appropriate.
Can I wash crochet baby shoes?
Yes. Gentle hand washing with mild detergent followed by flat drying is usually the safest method.
How long does it take to crochet one pair?
Most crocheters complete one pair in approximately three to five hours depending on experience and decorative details.
Can I sell baby shoes made from this Crochet Baby Shoe Pattern?
Yes. Handmade crochet baby shoes are popular at craft fairs and handmade marketplaces because they combine comfort, beauty, and thoughtful craftsmanship.
Conclusion
The Crochet Baby Shoe Pattern is a timeless crochet project that combines creativity, comfort, and handmade charm. Throughout this guide, you learned how to select the best materials, master the essential crochet stitches, follow a detailed step-by-step construction process, personalize each pair with creative embellishments, and apply professional finishing techniques that enhance both durability and appearance. Whether you are crocheting a pair for your own family, preparing a heartfelt baby shower gift, or creating beautiful handmade items for craft fairs, this versatile pattern offers endless opportunities to expand your crochet skills while making something truly meaningful. We hope this tutorial inspires you to create your own Crochet Baby Shoe Pattern and explore different colors, styles, and decorative details. If you enjoyed this article, please leave your honest opinion in the comments and share your suggestions for future crochet tutorials. Your feedback is greatly appreciated and helps us continue creating inspiring and helpful crochet content for crochet enthusiasts around the world.

