
The Crochet Cross Tutorial is a beautiful and meaningful project that combines creativity, simplicity, and heartfelt symbolism. Whether you are a beginner learning your first stitches or an experienced crocheter looking for a quick decorative piece, making a crochet cross can be both relaxing and rewarding. This versatile craft can be used as a gift, home décor, bookmark, ornament, or even part of a larger crochet project.
In this detailed Crochet Cross Tutorial, you will discover step-by-step guidance, essential techniques, and helpful tips to ensure your project turns out beautifully. Many crafters love this pattern because it is beginner-friendly, requires minimal materials, and works up quickly. With just basic stitches and a bit of patience, you can create a delicate and meaningful handmade piece.
Throughout this guide, we will explore everything you need to know about the crochet cross pattern, from materials and stitches to finishing touches and creative variations. By the end of this tutorial, you will feel confident in your ability to crochet a cross and even customize it to match your personal style.
Materials and Tools for Crochet Cross Tutorial
Before starting your Crochet Cross Tutorial, gathering the right materials will make the process smooth and enjoyable. The good news is that this project requires only a few basic supplies that most crocheters already have at home.
First, you will need yarn. Lightweight cotton yarn is highly recommended for a crochet cross pattern because it creates clean, defined stitches and holds the shape well. However, acrylic yarn can also work if you prefer a softer finish. Choose a color that suits your purpose—white and cream are traditional, while pastel or vibrant shades offer a modern touch.
Next, select the appropriate crochet hook size. Most crochet cross tutorial patterns use hooks between 2.5 mm and 4.0 mm, depending on the yarn weight. Using the correct hook ensures your stitches are even and your cross maintains its intended proportions.
You will also need a pair of sharp scissors for trimming yarn ends neatly. Clean cuts help give your finished project a polished appearance, which is especially important for decorative pieces like a crochet cross.
A yarn needle or tapestry needle is essential for weaving in ends. Proper finishing prevents unraveling and gives your crochet cross pattern a professional look. Beginners often skip this step, but it makes a significant difference.
Finally, consider optional tools such as stitch markers and blocking supplies. While not strictly necessary, they can help improve accuracy and shape, especially if you plan to make multiple crosses or sell your finished pieces.
Step-by-Step Crochet Cross Tutorial for Beginners
This Crochet Cross Tutorial is designed with beginners in mind, using simple stitches and clear structure. Take your time with each step, and remember that practice makes perfect.
Start by creating a slip knot and chaining the required number of stitches. Most basic crochet cross patterns begin with a foundation chain that forms the vertical part of the cross. Keep your tension even to ensure straight edges.
Next, work single crochet stitches along the chain. The single crochet is one of the most common stitches used in any crochet cross tutorial because it creates a firm and neat fabric. Make sure each stitch is placed correctly into the chain.
Once the vertical section is complete, you will create the horizontal arms of the cross. This usually involves chaining out from the center and working back with single or double crochet stitches. This step is where the cross shape truly begins to appear.
Continue by repeating the same process on the opposite side to keep the design symmetrical. Symmetry is very important in a crochet cross pattern, so count your stitches carefully and check your work as you go.
After shaping the cross, fasten off your yarn securely. Leave a small tail for weaving in later. Many beginners rush this step, but secure fastening prevents your work from unraveling over time.
Finish by weaving in all loose ends with a yarn needle. Smooth finishing is what transforms a simple project into a beautiful handmade piece. At this stage, your crochet cross is essentially complete.
Tips to Improve Your Crochet Cross Pattern
Even a simple Crochet Cross Tutorial can look stunning with a few professional tips. Small adjustments in technique can greatly improve your final result.
Pay close attention to tension. Uneven tension is one of the most common beginner mistakes in any crochet cross pattern. Try to keep your stitches consistent so the cross lays flat and looks balanced.
Blocking your finished piece can make a huge difference. Lightly dampen the cross and pin it into shape on a blocking mat. This helps define the edges and gives your crochet cross tutorial project a crisp, polished finish.
Choosing the right yarn weight also matters. Thinner yarn creates delicate crosses perfect for bookmarks or ornaments, while thicker yarn produces bold decorative pieces. Experiment to find your preferred style.
If you want a more decorative look, consider adding a simple border. Many crochet cross patterns include a round of slip stitches or picot edging to enhance the final appearance without adding much complexity.
Practice counting stitches regularly. Losing count can distort the shape of your cross. Developing this habit early will improve not only your crochet cross tutorial results but all your future crochet projects.
Finally, don’t be afraid to redo a section if needed. Even experienced crocheters unravel stitches occasionally. Patience and attention to detail are key to mastering any crochet technique.
Creative Ways to Use Your Crochet Cross
One of the best things about following a Crochet Cross Tutorial is the variety of ways you can use the finished piece. This small project has surprisingly versatile applications.
Many crafters turn their crochet cross pattern into bookmarks. Simply attach a tassel or leave a longer tail, and you have a meaningful handmade bookmark perfect for gifting or personal use.
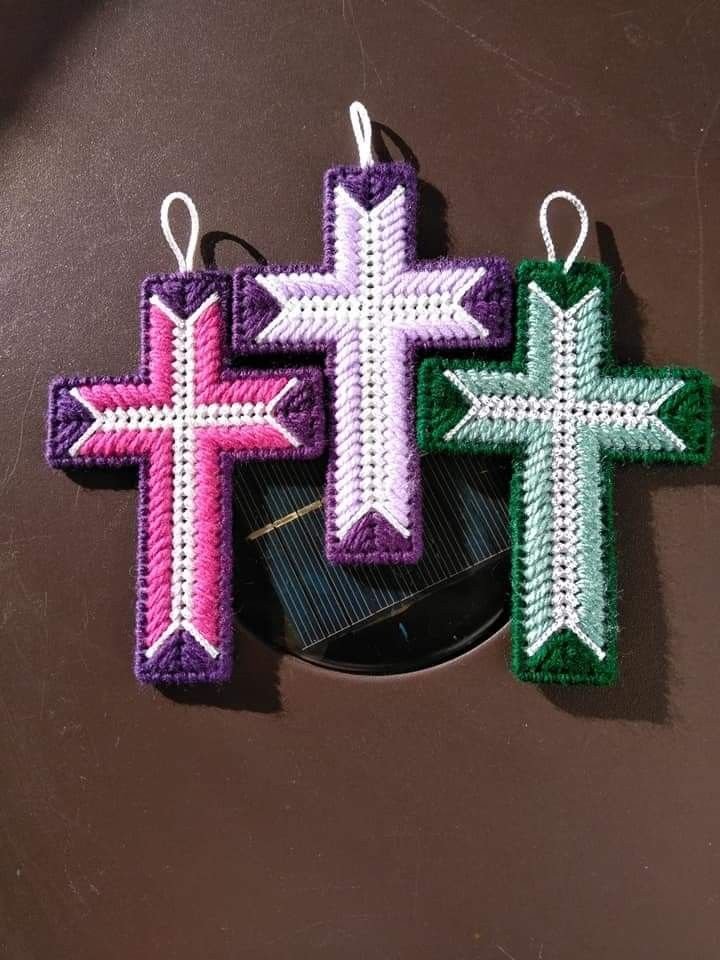
Another popular option is using the crochet cross as a Christmas ornament. Add a small loop at the top, stiffen the fabric if desired, and hang it on your tree for a handmade holiday touch.
You can also incorporate the cross into larger crochet projects. Some people sew their finished crochet cross tutorial pieces onto blankets, wall hangings, or pillow covers to add symbolic or decorative elements.
Gift giving is another wonderful use. A handmade crochet cross can be included in cards, given as party favors, or donated to community groups. Its small size makes it a quick yet thoughtful handmade gift.
For home décor, consider framing several crosses together in a shadow box. Using different yarn colors or textures can create a beautiful visual display while showcasing your crochet skills.
Lastly, many crocheters enjoy selling these items at craft fairs. Because the crochet cross pattern works up quickly and uses little yarn, it can be a practical project for small handmade business ideas.
FAQ About Crochet Cross Tutorial
Is the crochet cross tutorial suitable for beginners?
Yes, most crochet cross tutorial patterns are beginner-friendly. They typically use basic stitches like chain and single crochet, making them ideal for those just starting.
What type of yarn works best for a crochet cross pattern?
Cotton yarn is often preferred because it provides good stitch definition and structure. However, acrylic yarn also works well depending on the desired softness and look.
How long does it take to complete a crochet cross?
For most people, a simple crochet cross tutorial project can be completed in 20 to 45 minutes, depending on skill level and complexity.
Do I need to block my crochet cross?
Blocking is optional but recommended. It helps the crochet cross pattern lay flat and look more professional, especially for gifts or sales.
Can I resize the crochet cross?
Yes. You can change yarn weight and hook size or adjust the number of starting chains to make your cross larger or smaller.
What are the best uses for a finished crochet cross?
Common uses include bookmarks, ornaments, appliqués, gifts, and decorative pieces for the home.
Conclusion
In this complete Crochet Cross Tutorial, you learned how to choose the right materials, follow step-by-step instructions, improve your technique, and explore creative ways to use your finished piece. The crochet cross pattern is a wonderful project for beginners and experienced crafters alike because it is quick, meaningful, and highly versatile.
With practice, your stitches will become more even, your shaping more precise, and your confidence much stronger. The beauty of crochet lies in its flexibility, so feel free to experiment with colors, yarn types, and decorative edges to make each cross uniquely yours.

