
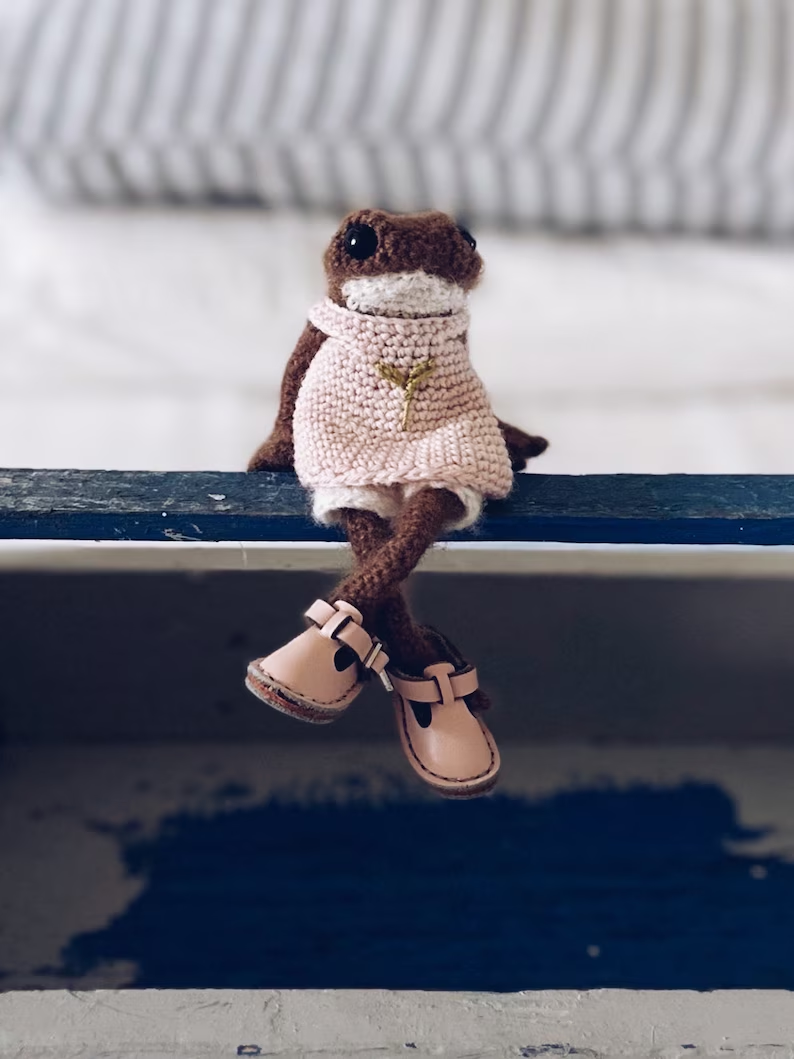
Crochet Frog Pattern projects have become one of the most charming trends among crochet lovers who appreciate cute, creative, and easy-to-personalize handmade items. Starting your journey with a Crochet Frog Pattern is not only fun but also a great opportunity to practice shaping techniques, simple stitches, and expressive details.
Working with a Crochet Frog Pattern offers endless possibilities for character and customization. You can choose classic shades of green or experiment with pastels, brights, or bold tones to give your frog a unique personality. The structure of the frog allows you to practice essential techniques like increasing, decreasing, shaping the body, and creating attractive facial expressions.
As you explore the Crochet Frog Pattern, you will learn how simple stitches come together to form a cute and well-defined character. You will discover helpful tips for working in rounds, creating flat and three-dimensional parts, and attaching small details securely. This project allows you to mix imagination with technique, resulting in a handmade frog that captures attention and warms the heart.
Essential Materials and Setup for Your Crochet Frog Pattern
To start your Crochet Frog Pattern, gather lightweight or medium-weight yarn that suits the size and texture you want. Many crocheters prefer cotton yarn because it provides structure and a clean stitch definition. Cotton also helps your frog maintain its shape, especially if you plan to make a decorative piece. If you prefer a softer, plush look, acrylic yarn is another great option.
Select a crochet hook that matches the yarn weight. Most frog patterns work well with hooks ranging from 2.5 mm to 4.0 mm. Using a smaller hook creates tighter stitches and a firm fabric, which is ideal for stuffed characters or tiny decorative frogs. A slightly larger hook results in a softer, more flexible body, perfect for frogs intended as toys.
You will also need fiberfill stuffing if you are making a three-dimensional frog. A yarn needle is essential for sewing the parts together and weaving in loose ends. Stitch markers help you track rounds if you are working in amigurumi style, making it easier to maintain accuracy while shaping the frog.
Before diving into your Crochet Frog Pattern, review the main stitches required: chain, slip stitch, single crochet, double crochet, and increases and decreases. Practicing these stitches ensures your frog will have an even, consistent look. Beginners may want to warm up with a small swatch for tension adjustment.
Clear lighting and a comfortable workspace are important for projects that involve small parts and details. Keeping your materials organized helps you work efficiently and enjoy the process more. Having everything within reach makes the entire experience smooth and enjoyable.
Taking time to prepare properly ensures that your Crochet Frog Pattern progresses without interruption, allowing you to focus on creativity and shaping techniques. Once your materials and tools are ready, you can start giving form to your frog with confidence.
Shaping the Frog Body Step by Step
The body is the foundation of your Crochet Frog Pattern, and shaping it correctly sets the tone for the entire piece. Start by creating a magic ring and working single crochet stitches into it. This helps you form a tight center and ensures no stuffing will show through later. Gradually increase stitches in each round to form a smooth, rounded shape that will become the frog’s belly and torso.
As you continue working in the round, pay close attention to the increase pattern to maintain an even circle. Uneven increases can distort the shape, so use stitch markers to help you track the starting point of each round. As the piece grows, your frog will take on the characteristic rounded body that makes it so appealing.
Once you reach the desired width, continue crocheting without increases to build height. This creates a cylindrical or oval shape depending on your chosen style. The length of the body is customizable, allowing you to craft a chubbier or slimmer frog based on your preference.
When the body reaches its full height, begin decreasing gradually to close the shape. Stuff the body lightly before finishing the final decreases. Even, gentle stuffing keeps the frog firm but not too rigid, helping it maintain an adorable, squeezable look.
Close the top of the body securely with a yarn needle. Make sure to weave in the ends neatly to maintain a clean and polished finish. A well-made body provides a strong base for attaching the head, limbs, and other details.
Completing the body is a rewarding step that marks real progress in your Crochet Frog Pattern. With the main structure finished, you can move on to shaping the head and character details that bring your frog to life.
Creating the Head, Eyes, and Facial Features
The head of your Crochet Frog Pattern is where personality truly emerges. Start the head similarly to the body by working in a magic ring and increasing evenly to form a smooth sphere. Depending on the style you prefer, the head can be made slightly larger or smaller than the body. A larger head creates a whimsical, cartoon-like effect, while a smaller head offers a more classic look.
Once the head shape is complete, attach it to the body using a yarn needle. Stitch slowly and carefully to ensure the head sits centered and straight. A well-aligned head enhances the overall symmetry of your frog and gives it a professional finish.
Next, create two small spheres or half-spheres to form the frog’s signature eyes. These eye bumps are usually worked separately and then sewn onto the top of the head. You can use safety eyes, black yarn embroidery, or small felt circles for the pupils.
Adding a mouth is a simple but expressive detail. Use black or dark green yarn to embroider a curved smile or a cute “U” shaped mouth. The mouth can be playful, shy, cheerful, or subtle depending on the placement and curve.
For extra charm, add small cheeks using a light pink yarn or embroider tiny dots under the eyes. These small touches bring personality and warmth to your frog. Each detail contributes to making your Crochet Frog Pattern unique and full of character.
Once the head and face are complete, your frog begins to transform into a lively and adorable piece. The next step is to create the limbs that will complete its expressive appearance.
Crafting and Attaching the Frog Limbs
Frog limbs are simple to crochet and give your Crochet Frog Pattern a natural and charming silhouette. Start with the arms by making small tubes or flat pieces, depending on the style you prefer. Arms typically consist of chains followed by single crochet stitches to create a neat and proportional shape.
The frog’s legs can be made slightly longer than the arms and often feature small toes shaped through simple increases, chains, and slip stitches. These toe details add realism and enhance the frog’s playful design.
Once the limbs are complete, stuff them lightly if they are tubular. This gives them a soft but structured look. Flat limbs, on the other hand, create a more relaxed and minimalistic style. Both options look beautiful depending on the result you want.
Attach the arms to the sides of the frog’s body, aligning them evenly. Stitch them securely using your yarn needle. Arms placed slightly forward give the frog a welcoming appearance, while arms placed higher up the torso add a playful stance.
Position the legs at the bottom sides of the body, sewing them firmly. Proper leg placement helps your frog sit upright if lightly stuffed or maintain balance when displayed. Taking your time here ensures your handmade frog looks symmetrical and polished.
After attaching all limbs, your Crochet Frog Pattern is nearly complete. Adding small accessories or details, such as a tiny scarf or bow, is optional but creates even more charm and personality.
FAQ
Is the Crochet Frog Pattern good for beginners?
Yes, it is beginner-friendly because it uses basic stitches like single crochet, increases, and decreases.
What yarn is recommended for this pattern?
Cotton or acrylic yarn works well, depending on whether you want a firm or soft texture.
Do I need stuffing for the frog?
Stuffing is recommended for a three-dimensional frog, but flat versions do not require it.
How long does it take to finish?
Most crocheters complete the frog within a few hours to a day depending on experience.
Can I customize the frog’s colors?
Absolutely. You can use any color combination to create different styles and personalities.
Are safety eyes required?
No. You can embroider the eyes instead, especially for child-safe projects.
Conclusion
Creating a Crochet Frog Pattern is a delightful experience that blends creativity, skill, and imagination. From shaping the body and head to attaching expressive limbs and facial details, each step invites you to add personality and charm to your handmade frog. This project is perfect for beginners and experienced crocheters alike, offering endless customization options. I hope this guide inspired you and helped you understand each part of the process. Please leave your sincere opinion and suggestions for future articles!

