
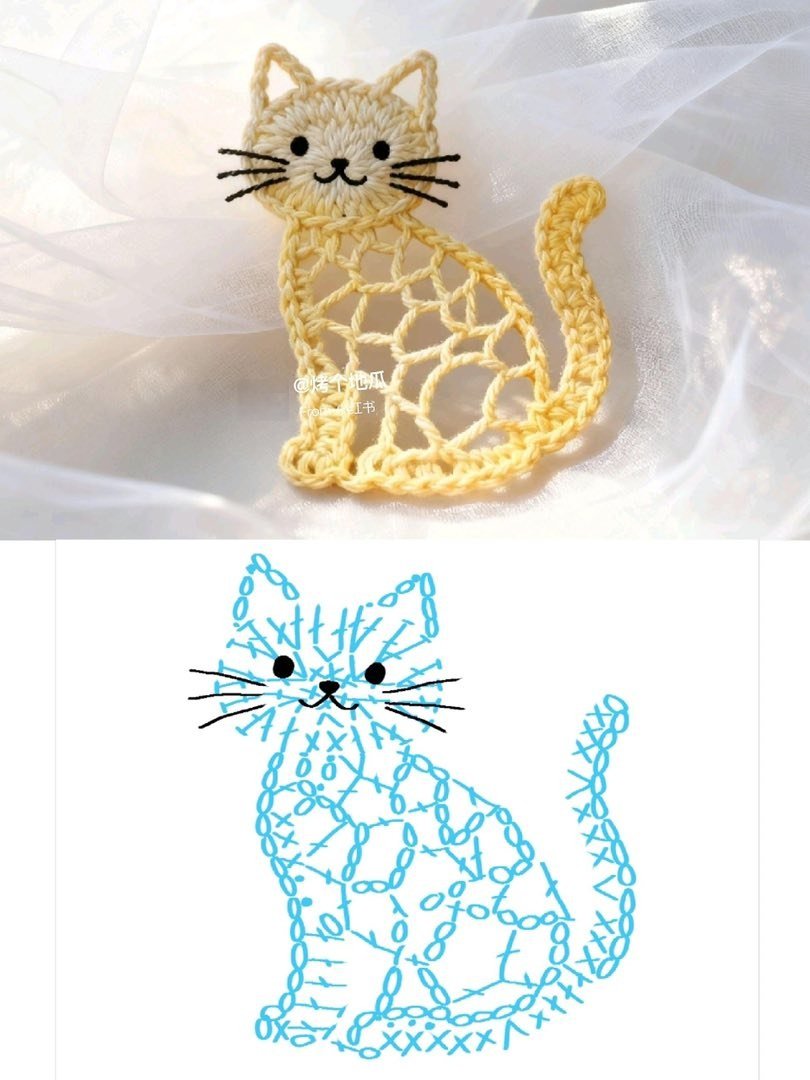
Crochet Kitten Pattern tutorials continue to rise in popularity among crafters who love mixing creativity and coziness. Right from the first stitch, a bold Crochet Kitten Pattern project creates an adorable handmade piece that appeals to beginners and experienced crocheters alike. Whether you want to craft a cute toy, a decorative piece, or a small gift for a loved one, mastering this style opens the door to endless possibilities.
Working with a Crochet Kitten Pattern is also a wonderful way to develop foundational crochet skills while making something distinctly charming and personalized. These patterns usually involve simple stitches, easy shaping, and step-by-step rows that allow the crafter to build confidence as they progress.
Before diving into the techniques and instructions, it’s important to understand why a Crochet Kitten Pattern stands out among other crochet designs. It blends the appeal of cute handmade animals with accessible construction methods that a true beginner can master. The versatility of this theme allows artisans to adapt colors, sizes, and textures based on personal taste.
Understanding the Basics of a Crochet Kitten Pattern
Creating a Crochet Kitten Pattern starts with familiarizing yourself with the essential materials commonly used in amigurumi-style projects. You will typically need medium-weight yarn, a reliable crochet hook, stuffing fiber, stitch markers, and tapestry needles. Each of these items plays an important role in shaping your finished kitten. Choosing soft and durable yarn ensures that the final project looks polished and feels comfortable to the touch.
The next step in working with any Crochet Kitten Pattern is mastering basic stitches. The most frequently used stitches include single crochet, increases, and decreases. These simple movements create the body, head, ears, and limbs in a predictable, beginner-friendly manner. Practicing these stitches ahead of time helps build confidence and consistency in your work.
Another essential part of following a Crochet Kitten Pattern is understanding how to read round-by-round instructions. Most kitten patterns are worked in a continuous spiral, which requires attention to stitch counts. Using a stitch marker prevents accidental gaps and ensures your kitten maintains an even and smooth shape from start to finish. Over time, you will be able to recognize pattern structures naturally.
Materials and tools also influence the outcome of your Crochet Kitten Pattern project. Yarn thickness affects the kitten’s size, while hook size determines how tight or loose your stitches will be. Beginners often start with a slightly smaller hook to create firmer stitches that better hold the stuffing inside. Experimenting with combinations allows you to discover your preferred crafting style.
To achieve the best results, it’s helpful to maintain consistent tension. Uneven tension can cause bumps, loose spots, or stretched stitches. Holding your yarn properly, relaxing your grip, and practicing regularly allow the kitten’s shape to develop smoothly. Even small improvements in tension control make a noticeable difference in the final appearance of your project.
Finally, reviewing the pattern before starting helps prevent confusion later in the process. Look over the abbreviations, repeat rows, and assembly instructions. A well-prepared approach reduces mistakes and ensures the crafting experience remains fun, steady, and enjoyable. Preparation is a key step often overlooked by crochet beginners.
Step-by-Step Construction of a Crochet Kitten Pattern
The first major piece of a Crochet Kitten Pattern is the head. Most patterns begin with a magic ring followed by rounds of increases to create a soft, rounded shape. As you add rows, the head gradually forms and sets the foundation for the kitten’s expressive look. This technique helps you build symmetry and create the classic amigurumi appearance.
Once the head is shaped, the next step is crafting the body. The body also begins with a circle and grows through controlled increases. After reaching the desired width, the pattern will instruct you to decrease strategically, shaping the kitten’s torso into a gentle oval. This creates the perfect base for attaching limbs and the tail later in the process.
The ears are small but highly important details in a Crochet Kitten Pattern. Usually worked with simple triangular shaping, they add charm and personality to your creation. Ears can be positioned upright for a playful look or angled slightly for a relaxed expression. Sewing them securely ensures they stay firmly in place.
Next come the limbs, often the simplest parts of the entire project. Each arm and leg is usually formed as a small cylinder with a rounded end. These shapes are easy to repeat and ideal for beginners practicing stitch consistency. Stuffing the limbs lightly helps create softness without adding unnecessary bulk.
The kitten’s tail is another distinctive feature. Often worked as a long tube or gentle curve, it balances the kitten’s overall design. Depending on your creative preference, you can make the tail thicker, longer, or even striped. Sewing it to the back of the body completes the kitten’s silhouette perfectly.
Customizing and Personalizing Your Crochet Kitten Pattern
One of the greatest advantages of working with a Crochet Kitten Pattern is the ability to fully customize your creation. You can choose colors that reflect your personality, your favorite pets, or even seasonal themes. Soft pastels, natural grays, warm browns, or playful multicolored yarn can instantly transform the kitten’s appearance.
Personalization also extends to facial features. Safety eyes are commonly used to create bright, expressive looks, but embroidered eyes are a safe and charming option for baby-friendly projects. Adding a tiny embroidered nose, whiskers, and a small smile completes the kitten’s personality in a sweet and gentle way.
Accessories make your Crochet Kitten Pattern project even more special. Tiny scarves, collars, bows, or miniature toys bring character and uniqueness to the finished design. These small additions are quick to make and help differentiate your creations from others. You can easily create themed kittens for holidays, birthdays, or décor.
You may also experiment with yarn textures. Using velvet yarn produces a luxurious, plush kitten, while cotton yarn results in a clean and structured finish. Each yarn type creates a different effect, allowing you to choose according to your crafting goals. Trying new textures keeps crocheting exciting and creatively inspiring.
Tips, Troubleshooting, and Best Practices for Crochet Kitten Pattern Success
When working on a Crochet Kitten Pattern, beginners sometimes struggle with maintaining the correct stitch count. This is normal and improves with practice. Using a stitch marker to mark the first stitch of each round is one of the simplest yet most effective ways to stay on track. This habit prevents accidental skipping or repeating stitches.
Another common challenge involves uneven tension. If your stitches appear too loose or too tight, take a moment to adjust your grip and relax your hands. Crocheting should feel comfortable, not stressful. Consistency develops naturally as you complete more projects, so patience is essential.
Stuffing is another important area where beginners can benefit from tips. Insert small tufts of filling gradually rather than forcing large chunks at once. Even distribution ensures your kitten has a balanced and smooth shape without lumps or hollow spots. This step dramatically improves the final result of any Crochet Kitten Pattern.
If you notice gaps between stitches, switching to a slightly smaller hook can help tighten your work. A tight stitch structure prevents stuffing from showing through and helps your kitten keep its shape long-term. Small adjustments like this often lead to more professional results.
Attaching pieces can sometimes feel intimidating, but taking your time makes all the difference. Pin everything into place before sewing, ensuring symmetry. Using whip stitch or invisible stitch techniques helps secure the parts neatly. Practice makes the assembly process faster and more enjoyable.
Finally, always weave in your yarn ends carefully. Proper finishing prevents unraveling and keeps your kitten looking clean and polished. A few extra minutes spent on finishing touches can elevate the entire project and reflect your dedication to quality craftsmanship.
FAQ — Frequently Asked Questions About Crochet Kitten Patterns
1. Is a Crochet Kitten Pattern suitable for complete beginners?
Yes, most Crochet Kitten Patterns are beginner-friendly, especially those using basic stitches like single crochet, increases, and decreases. They are ideal for practicing consistent stitches and shaping skills.
2. How long does it take to complete a Crochet Kitten Pattern?
The time varies depending on skill level and project size. Beginners may take several hours across a few days, while experienced crocheters may finish in one session.
3. What type of yarn is best for kitten patterns?
Medium-weight acrylic or cotton yarn is typically recommended because it holds shape well and is easy to work with. However, you can experiment with different textures for unique results.
4. Can I use embroidered eyes instead of safety eyes?
Yes, embroidered eyes are an excellent option, especially for babies or small children. They are safe, durable, and customizable.
Conclusion
Creating a Crochet Kitten Pattern project is a rewarding experience that blends creativity, technique, and personalization. Throughout this article, you learned the basics of materials, construction methods, customization ideas, and practical tips to help you craft a beautiful handmade kitten. With practice and patience, your skills will grow, and each new project will reflect your individual artistic style.

