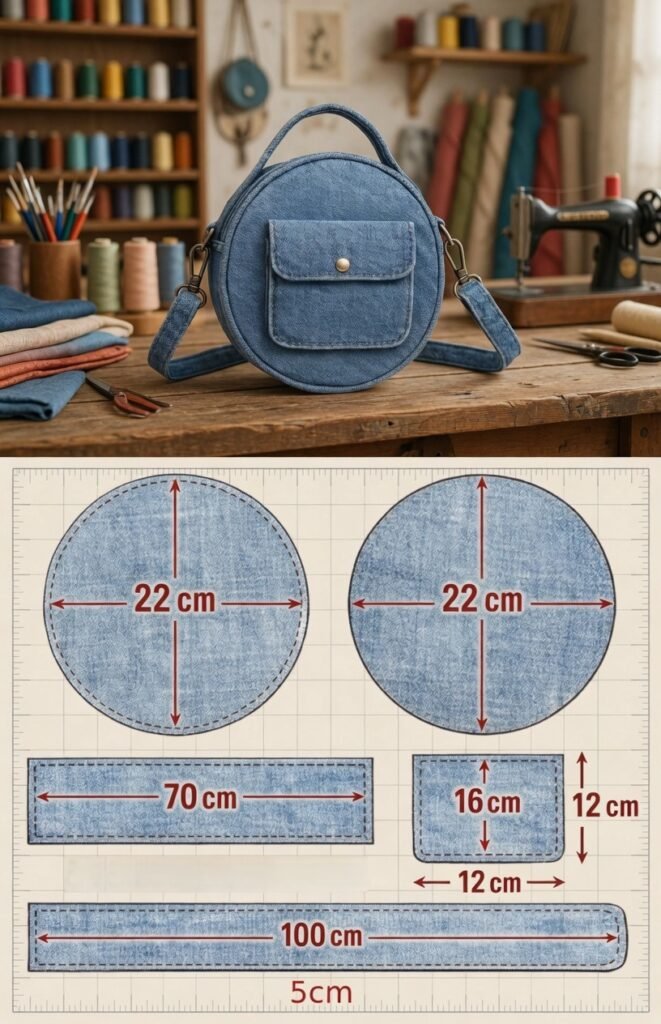
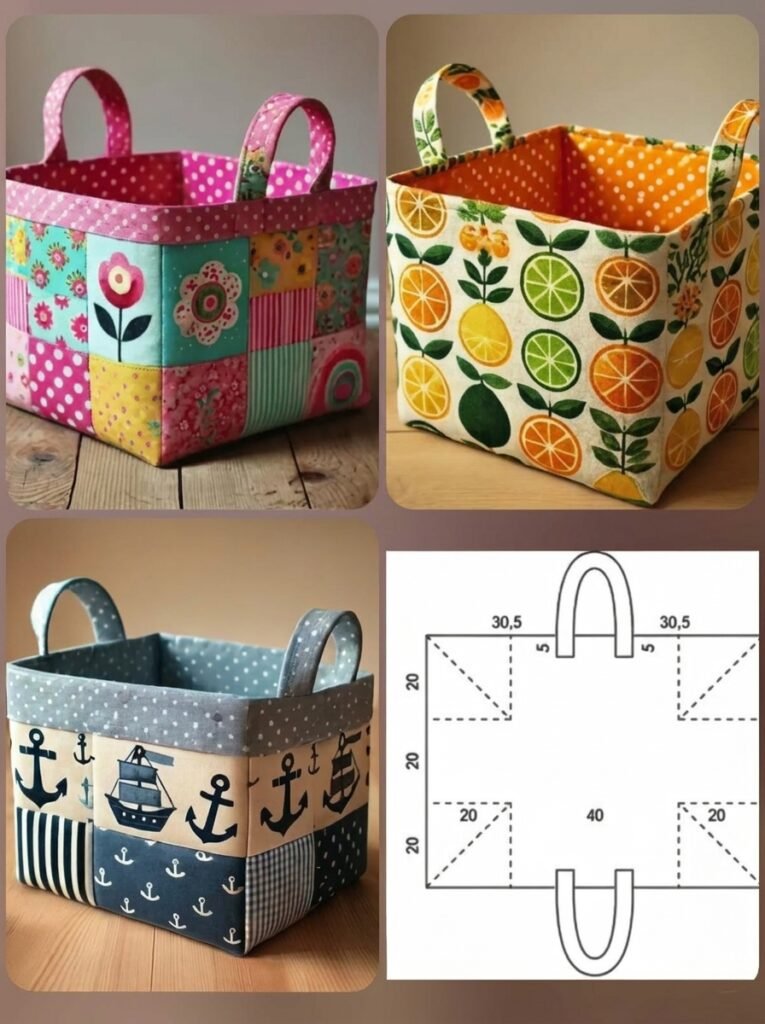
Denim Bag – Tutorial is one of the most rewarding sewing projects for anyone who loves creating beautiful and practical handmade accessories. Whether you are recycling an old pair of jeans or using new denim fabric, this project combines creativity, sustainability, and functionality. A well-made denim bag is durable enough for everyday use while maintaining a timeless style that never goes out of fashion. Throughout this guide, you will learn every stage of the process, from choosing materials to adding the final finishing touches, making it easy to complete your own unique project with confidence.
Working on a Denim Bag – Tutorial is also an excellent way to improve sewing skills without feeling overwhelmed. This project allows beginners to practice straight seams, topstitching, fabric reinforcement, and finishing techniques while giving experienced makers plenty of opportunities to personalize the design. Every step builds upon the previous one, making the entire process logical and enjoyable. By following a structured approach, you can create a bag that looks professional and lasts for years.
One of the greatest advantages of a Denim Bag – Tutorial is its versatility. Denim pairs beautifully with cotton lining, decorative stitching, embroidery, leather accents, colorful handles, or even patchwork details. You can customize the size, pocket arrangement, closure style, and decorative elements to suit your own needs. Whether you want a casual shopping bag, a daily tote, or a stylish handbag, the same basic construction techniques can be adapted into countless creative variations.
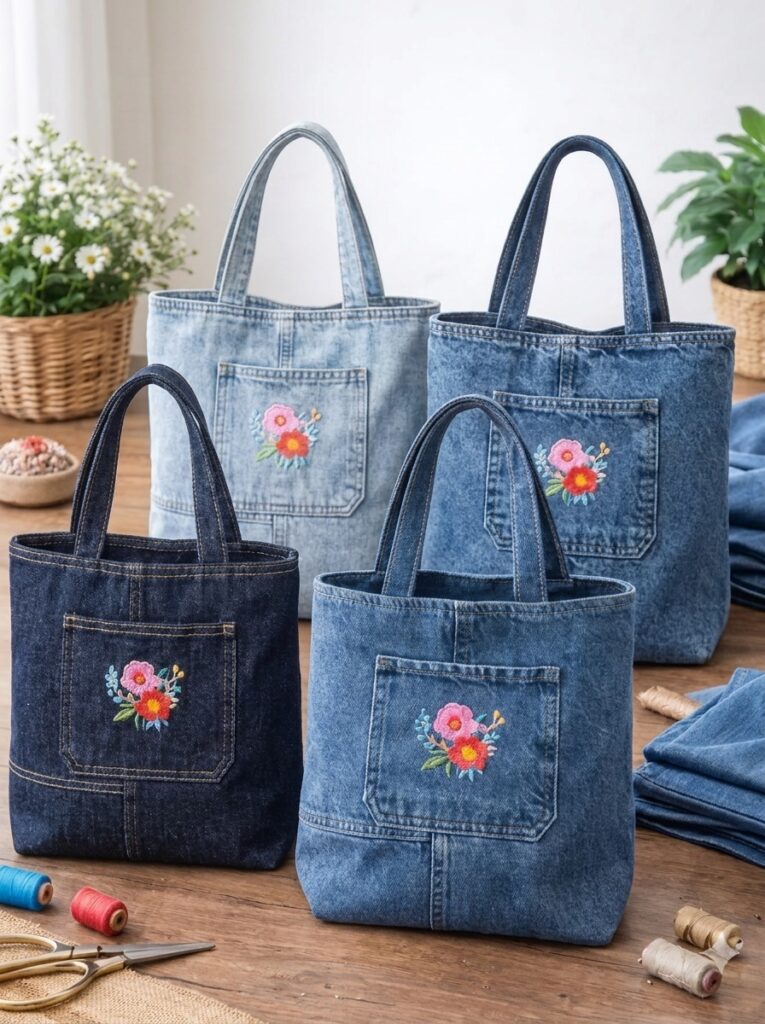
Choosing Materials and Preparing Your Denim
Before beginning your Denim Bag – Tutorial, gather all the necessary supplies. High-quality materials make sewing easier and improve the final appearance of the finished bag. Prepare denim fabric, lining fabric, matching thread, fabric scissors, pins or clips, interfacing if desired, a sewing machine, measuring tools, and your preferred handles or straps.
Selecting the right denim is one of the most important decisions. Medium-weight denim offers the perfect balance between flexibility and durability. Recycled jeans are also an excellent choice because they already have character, texture, and natural fading that gives every bag a unique personality.
Wash and dry your denim before cutting. Prewashing removes shrinkage and softens the fibers, ensuring that your finished project maintains its intended size after future cleaning. Press the fabric carefully with an iron to eliminate wrinkles and improve cutting accuracy.
Measure your desired finished bag dimensions before drawing any cutting lines. Decide on the height, width, depth, and handle length according to how you plan to use the bag. A little planning helps prevent mistakes later in the sewing process.
Prepare a simple pattern using paper or directly mark the measurements on the wrong side of the fabric using tailor’s chalk or a washable marker. Double-check all measurements before making the first cut.
If your project includes pockets from recycled jeans, carefully remove and preserve them before cutting the fabric. Existing jean pockets can become attractive functional features that save time while adding authentic denim style.
Cutting and Sewing the Main Bag Pieces
Begin your Denim Bag – Tutorial by cutting two identical rectangles for the front and back panels. Cut matching lining pieces using the same dimensions so everything fits together perfectly during assembly.
If your design includes a boxed bottom, mark small squares at each lower corner. These corner cuts will later create depth, allowing the bag to stand upright while providing additional storage capacity.
Place the denim exterior pieces with right sides facing each other. Sew along both sides and the bottom edge using a consistent seam allowance. Reinforce the beginning and end of each seam with backstitching for extra durability.
Repeat the same process with the lining fabric but leave a small opening along the bottom seam. This opening will later allow you to turn the completed bag right side out without damaging the stitches.
Create the boxed corners by matching the side seam with the bottom seam, forming a triangle. Sew straight across each corner before trimming away the excess fabric. This simple technique instantly gives the bag its structured shape.
Press every seam after sewing. Professional-looking handmade projects often depend more on careful pressing than complicated sewing techniques. Crisp seams improve accuracy and produce a cleaner final appearance.
Assembling the Denim Bag
Now the most exciting part of the Denim Bag – Tutorial begins as the exterior and lining come together. Insert the denim exterior inside the lining so that the right sides are facing each other. Align all side seams carefully before pinning around the upper edge.
Sew completely around the top opening while maintaining an even seam allowance. Take your time around thicker denim sections to ensure smooth, even stitches without skipped areas.
Turn the entire project right side out through the opening left in the lining. Gently push out every corner using a blunt turning tool, chopstick, or knitting needle while avoiding excessive force that could damage the seams.
Close the lining opening using either a neat hand ladder stitch or a machine stitch close to the edge. Place the lining inside the bag and smooth all layers carefully until everything sits naturally.
Topstitch around the upper edge of the bag approximately one-eighth to one-quarter inch from the edge. This decorative line not only enhances the appearance but also keeps the lining securely in place during everyday use.
If desired, reinforce the upper edge with a second row of topstitching. Double stitching is commonly seen on commercial denim products and contributes to both durability and classic denim styling.
Finishing Details and Personalizing Your Denim Bag
Handles are one of the most important finishing features in any Denim Bag – Tutorial. Fabric straps, webbing, leather handles, or recycled denim strips all work beautifully depending on the style you want to achieve.
Position the handles evenly on both sides before sewing. Measure carefully to ensure they are symmetrical. Reinforce each attachment point by sewing a square with a diagonal X pattern for maximum strength.
Add interior or exterior pockets if additional storage is desired. Zipper pockets, patch pockets, or divided compartments make the bag more practical while providing opportunities for creative customization.
Decorative stitching can completely transform the appearance of your project. Use contrasting thread, embroidery, decorative machine stitches, fabric patches, or quilting techniques to create a truly one-of-a-kind design.
For additional structure, insert fusible interfacing before sewing the exterior pieces together. Interfacing helps the bag maintain its shape while making it easier to carry heavier everyday items.
Finally, inspect every seam, trim loose threads, give the bag one final press, and admire your completed project. Your finished denim bag is now ready for shopping trips, everyday errands, travel, or as a thoughtful handmade gift for family and friends.
FAQ
What is the best fabric for a Denim Bag – Tutorial?
Medium-weight denim is usually the best choice because it offers excellent durability while remaining manageable for home sewing machines. Recycled jeans are also a popular and environmentally friendly option.
Do I need a heavy-duty sewing machine?
Not necessarily. Most domestic sewing machines can sew denim successfully when equipped with a denim needle, quality thread, and appropriate stitch length. Sewing slowly through thicker layers also helps.
Can beginners make a denim bag?
Yes. A basic Denim Bag – Tutorial is suitable for beginners because it teaches essential sewing techniques such as straight stitching, pressing seams, turning fabric, and topstitching.
How can I make my denim bag stronger?
Reinforce stress points with additional stitching, use strong polyester thread, topstitch the upper edge, and securely attach the handles using box-and-cross reinforcement stitches.
Can I recycle old jeans for this project?
Absolutely. Recycling old jeans is one of the biggest advantages of a Denim Bag – Tutorial. Existing pockets, seams, and faded textures often create a more interesting finished design.
What lining fabric works best?
Cotton fabric is one of the most popular lining choices because it is lightweight, durable, easy to sew, and available in countless colors and prints.
How should I clean my finished denim bag?
Most denim bags can be hand washed or machine washed on a gentle cycle using cold water. Air drying helps preserve the shape and extends the life of the fabric.
Can I add a zipper closure?
Yes. A zipper can be installed along the top opening before attaching the lining, creating a more secure bag that is ideal for travel or daily use.
Conclusion
Completing this Denim Bag – Tutorial demonstrates how a simple sewing project can become both practical and highly creative. From selecting the right denim, preparing the fabric, cutting accurate pieces, sewing strong seams, assembling the structure, and adding personalized finishing touches, each step contributes to a durable and stylish handmade accessory. Whether you create a minimalist everyday tote or a decorative statement bag, the techniques covered in this guide provide a strong foundation for many future sewing projects. We hope this tutorial has inspired you to begin your own handmade creation. If you enjoyed this article, please leave your honest opinion, share your experience, and let us know your suggestions for future tutorials—we would love to hear about your creative journey.