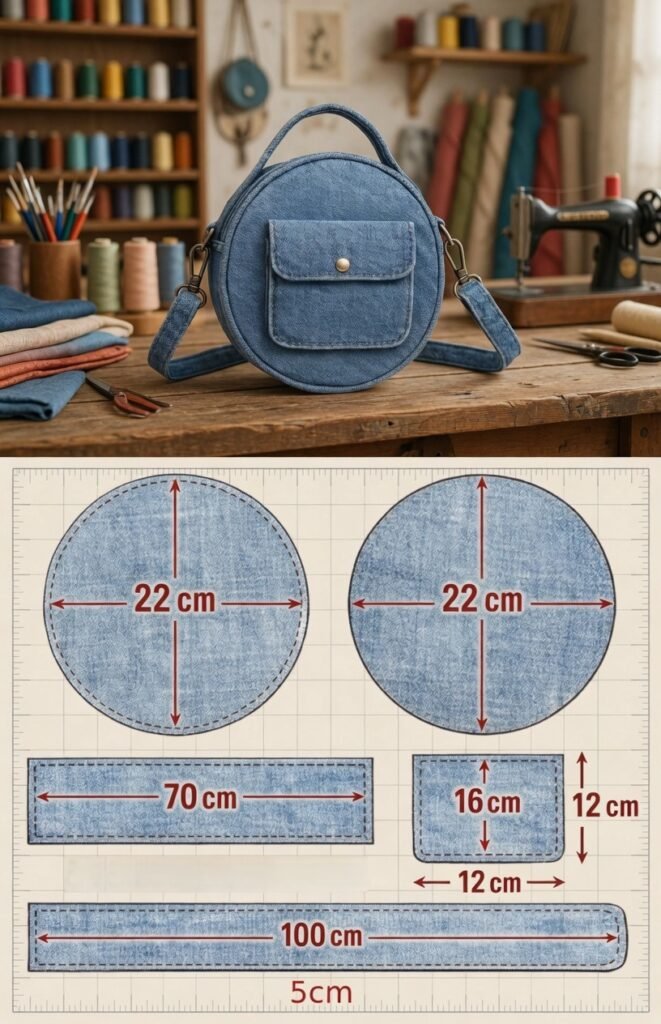
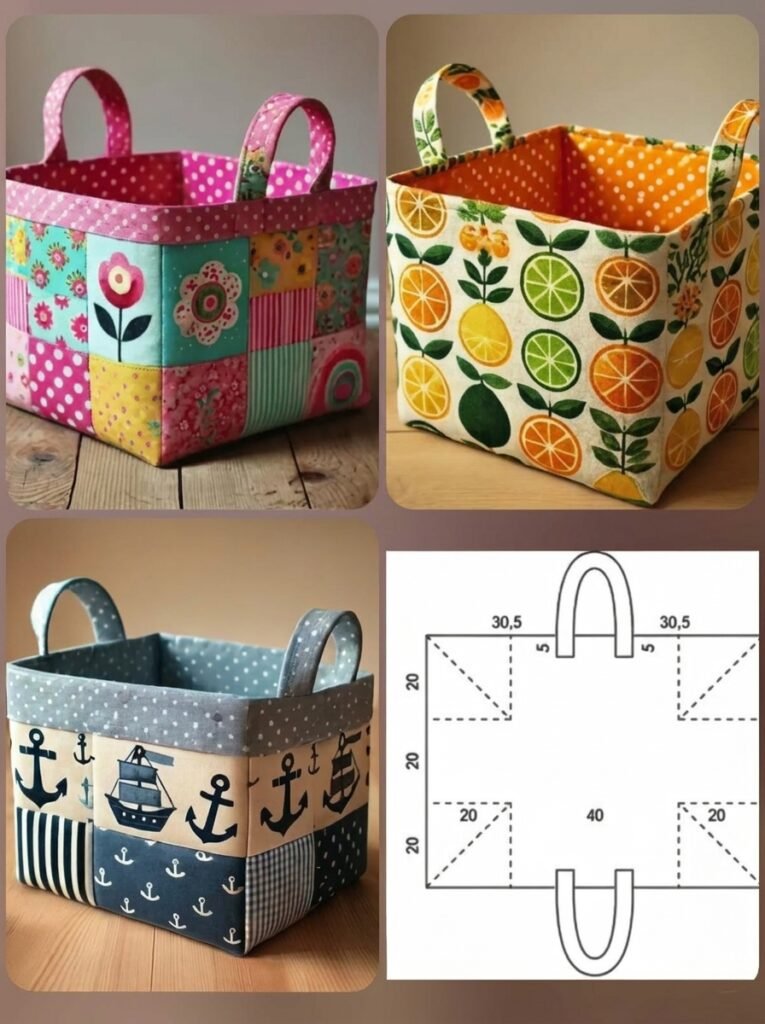
Patchwork Bucket Hat Pattern is a fun and stylish sewing project that combines classic patchwork techniques with a fashionable accessory that can be worn throughout the year. Whether you are looking for a creative way to use fabric scraps or you want to make a handmade gift, the Patchwork Bucket Hat Pattern is a rewarding project that allows you to showcase your sewing skills while creating something both practical and unique. Every finished hat reflects the maker’s personality through carefully selected colors, prints, and fabric combinations.
One of the reasons the Patchwork Bucket Hat Pattern has become increasingly popular among sewing enthusiasts is its versatility. The design works beautifully with quilting cotton, linen, denim, canvas, lightweight twill, and many other woven fabrics. You can create a vintage-inspired hat using floral prints, a modern version with geometric fabrics, or a colorful scrap project by combining leftover fabric pieces from previous sewing adventures. Every variation produces a completely original accessory that cannot be found anywhere else.
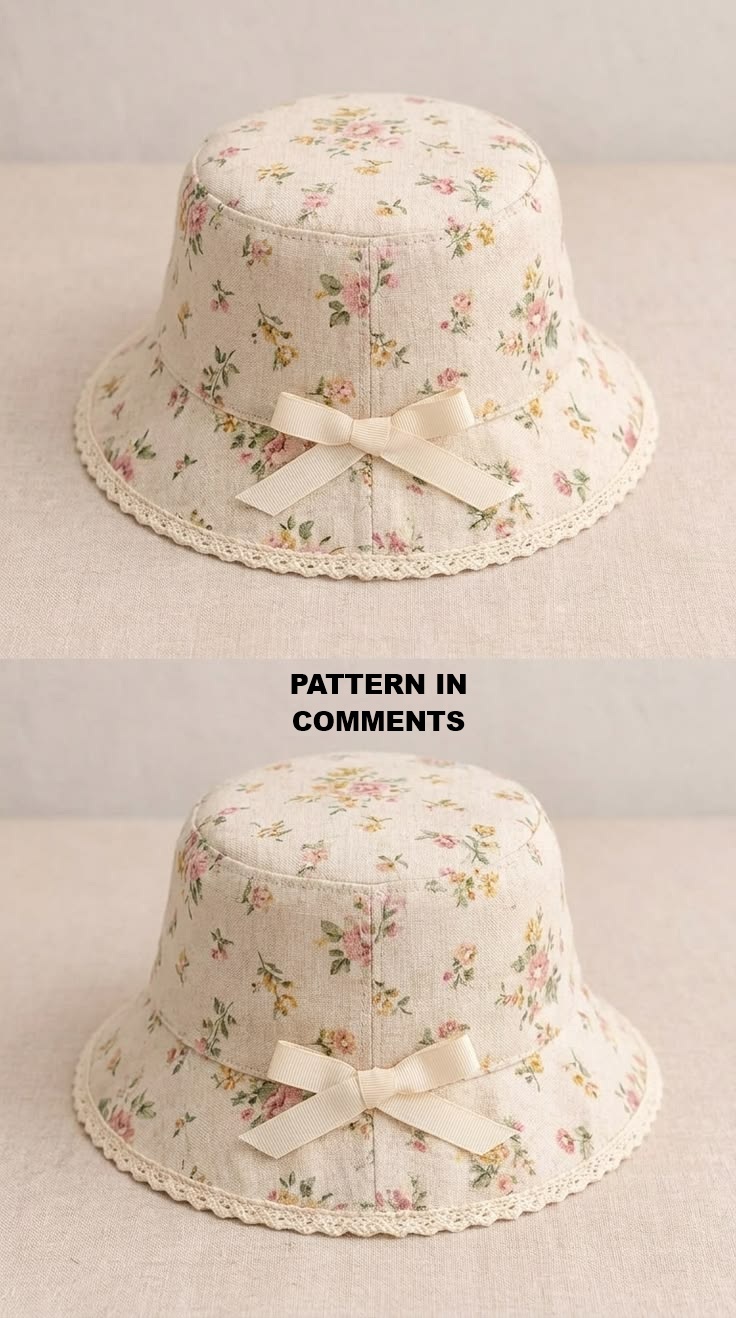
In this complete tutorial, you will learn exactly how to sew a beautiful Patchwork Bucket Hat Pattern from start to finish. Every step has been explained in clear, beginner-friendly English while following sewing methods commonly used in the United States. From selecting fabrics and preparing the patchwork pieces to assembling the crown, attaching the side band, sewing the brim, reinforcing the structure, and adding the finishing details, this guide will help you recreate the project shown in the photo while developing confidence in your sewing abilities.
Gather Your Materials and Prepare the Patchwork Pieces
Before beginning the Patchwork Bucket Hat Pattern, gather all of your sewing supplies. You will need quilting cotton, linen, denim, or lightweight canvas, coordinating lining fabric, fusible interfacing, matching polyester thread, sewing machine, fabric scissors or rotary cutter, cutting mat, quilting ruler, measuring tape, sewing clips or pins, and a hot iron.
Choose fabrics that coordinate well while still offering enough contrast to highlight the patchwork design. Mixing solids with floral prints, stripes, checks, or small geometric patterns creates visual interest without making the finished hat appear overly busy.
Wash, dry, and carefully press every fabric before cutting. Prewashing helps minimize future shrinkage while removing excess dye. Pressed fabric is much easier to measure accurately and produces cleaner patchwork seams.
Cut the fabric pieces according to your chosen patchwork layout. Whether you prefer squares, rectangles, triangles, or other geometric shapes, maintaining consistent measurements is essential for creating a balanced and symmetrical design.
Arrange the patchwork pieces on a flat surface before sewing. This allows you to experiment with different color combinations until you achieve a layout that is visually balanced and pleasing from every angle.
Apply lightweight fusible interfacing to the appropriate hat pieces if additional structure is desired. Interfacing helps the finished Patchwork Bucket Hat Pattern maintain its shape while improving durability during regular wear.
Step-by-Step Instructions for Sewing the Patchwork Bucket Hat Pattern
Begin by sewing the small patchwork pieces together to create larger fabric panels. Use an accurate quarter-inch seam allowance throughout the project and press every seam immediately after stitching to maintain precise measurements.
Continue joining the patchwork sections until each required pattern piece has been completed. Depending on the style of your hat, you will typically prepare panels for the crown, side band, and brim before beginning final assembly.
Cut the completed patchwork panels using your bucket hat template. This ensures every section matches the required dimensions while preserving the overall patchwork design that you carefully assembled.
Sew the crown pieces together first, carefully matching seam intersections whenever possible. Once the top section is complete, attach the side band using even stitching and frequent pinning to maintain smooth curves.
Assemble the brim by sewing the outer patchwork layer and the lining separately before joining them together. Trim seam allowances where necessary to reduce bulk and help the brim lie smoothly after turning.
Turn the brim right side out, press carefully, and attach it to the completed crown. Finish the Patchwork Bucket Hat Pattern by sewing several rows of evenly spaced topstitching around the brim to add structure, durability, and a professional appearance.
Helpful Sewing Tips for Professional-Looking Results
Take your time when creating the patchwork panels. Accurate cutting and consistent seam allowances have a significant impact on the appearance of the finished hat.
Press every seam after sewing instead of waiting until the entire project is complete. Frequent pressing reduces bulk and improves overall construction accuracy.
Choose thread that coordinates with the dominant fabric colors unless decorative contrast stitching is part of your design. Matching thread creates a polished and elegant finish.
If working with thicker fabrics such as denim or canvas, use a denim or heavy-duty sewing needle to prevent skipped stitches and ensure smooth sewing through multiple layers.
Test the hat size before permanently attaching the brim if possible. Small adjustments made early in construction can greatly improve the final fit and overall comfort.
Do not be afraid to mix different textures and prints within the Patchwork Bucket Hat Pattern. Combining complementary fabrics often creates a more interesting and visually dynamic finished accessory.
Finishing the Hat and Personalizing Your Design
Once the Patchwork Bucket Hat Pattern has been assembled, carefully inspect every seam for loose threads or uneven stitching. Correcting small details now ensures a stronger and more professional finished project.
Give the completed hat a final pressing using steam where appropriate. Careful pressing helps smooth curved seams and enhances the crisp appearance of the brim and crown.
Add a personalized fabric label inside the hat if desired. Handmade labels create a polished finish while making the hat feel even more special when given as a gift.
Decorate the finished hat with optional embellishments such as embroidered flowers, appliqué shapes, decorative buttons, lace trim, or subtle quilting stitches that complement the patchwork design.
Experiment with reversible construction by using coordinating fabrics for both the exterior and lining. A reversible Patchwork Bucket Hat Pattern offers two stylish looks in one practical accessory.
After completing your hat, wear it proudly during outdoor activities, vacations, gardening, beach trips, shopping, or casual everyday outings while enjoying a unique handmade creation that reflects your creativity and sewing skills.
Frequently Asked Questions
Is the Patchwork Bucket Hat Pattern suitable for beginners?
Yes. The Patchwork Bucket Hat Pattern is appropriate for adventurous beginners who are familiar with basic sewing techniques such as straight stitching, pressing seams, and following simple pattern pieces.
What fabrics work best for this project?
Quilting cotton, linen, lightweight denim, canvas, chambray, and cotton twill are all excellent choices. Medium-weight woven fabrics provide the best balance of comfort and structure.
Do I need interfacing?
Yes. Lightweight or medium-weight fusible interfacing is highly recommended because it helps the hat maintain its shape while making the brim more durable.
Can I use fabric scraps?
Absolutely. This project is perfect for using leftover quilting fabrics, making it an excellent scrap-busting sewing project that minimizes fabric waste.
How many rows of topstitching should the brim have?
Most bucket hats feature several evenly spaced rows of topstitching around the brim. The exact number depends on your personal preference and the desired appearance.
Can I make the hat reversible?
Yes. Many sewists choose to create reversible versions by selecting complementary fabrics for the exterior and lining, effectively giving the hat two different looks.
How do I achieve a professional finish?
Accurate cutting, careful pressing, consistent seam allowances, proper interfacing, and evenly spaced topstitching all contribute to a polished, high-quality finished hat.
Is this a good handmade gift?
Definitely. A completed Patchwork Bucket Hat Pattern makes a thoughtful handmade gift for birthdays, holidays, vacations, gardening enthusiasts, travelers, or anyone who enjoys stylish handmade accessories.
Conclusion
The Patchwork Bucket Hat Pattern is a creative sewing project that perfectly combines traditional patchwork techniques with modern fashion. Throughout this tutorial, you learned how to prepare your fabrics, organize patchwork pieces, assemble the crown and brim, reinforce the structure with interfacing, apply professional topstitching, and personalize the finished hat with creative details. Each step contributes to creating a comfortable, durable, and stylish accessory that can be enjoyed throughout every season.
As you continue exploring the Patchwork Bucket Hat Pattern, don’t hesitate to experiment with new fabric combinations, colorful patchwork layouts, decorative embroidery, quilting stitches, and reversible designs. Every hat you create becomes a unique expression of your creativity while helping you improve your sewing skills with each project. If you found this tutorial helpful, please leave your honest opinion and share your suggestions for future sewing tutorials. Your feedback is greatly appreciated and helps inspire even more creative ideas for sewing enthusiasts around the world.