
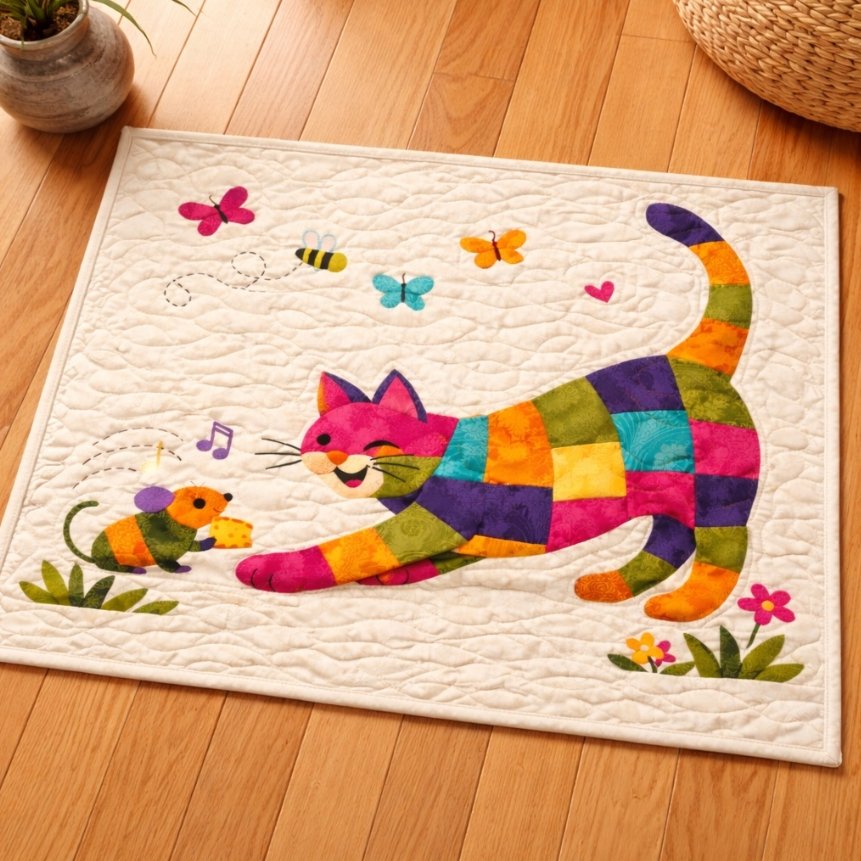
Cat & Mouse Patchwork Pattern is a delightful and imaginative quilting project that combines storytelling, creativity, and traditional sewing techniques into one beautiful design. If you are looking for a pattern that is both playful and visually engaging, learning the Cat & Mouse Patchwork Pattern is a perfect choice. This design captures the timeless relationship between cats and mice in a charming patchwork format, making it ideal for quilts, wall hangings, children’s décor, and handmade gifts.
One of the most captivating aspects of the Cat & Mouse Patchwork Pattern is how it allows you to bring characters to life using fabric. Unlike simple geometric quilts, this pattern introduces personality and narrative. You can create scenes where the cat is chasing the mouse, or design a more peaceful composition where both coexist in a whimsical layout.
In this complete and detailed guide, you will learn everything about the Cat & Mouse Patchwork Pattern, including materials, fabric selection, cutting techniques, block assembly, quilting methods, expert tips, creative ideas, and a comprehensive FAQ section. By the end of this article, you will feel confident and inspired to create your own unique and charming quilt.
Materials and Fabric Selection for Cat & Mouse Patchwork Pattern
Before starting your Cat & Mouse Patchwork Pattern, it is essential to gather all the necessary materials. Choosing the right fabrics will play a crucial role in bringing your design to life.
Cotton fabric is the best choice for patchwork projects. It is easy to handle, durable, and available in a wide range of colors and prints. For this pattern, you will need a combination of background fabrics and feature fabrics for the cat and mouse shapes.
For the cat, darker colors such as black, charcoal, navy, or deep brown work very well. These shades help define the cat’s silhouette clearly. For the mouse, lighter tones like soft gray, beige, or white are ideal, creating a nice contrast with the cat.
You can also include patterned fabrics, such as small florals, polka dots, or subtle textures, to add visual interest without overwhelming the design.
In addition to fabric, you will need quilt batting for the middle layer and backing fabric for the back of the quilt. Choose a backing that complements the front design.
Essential tools include a rotary cutter, cutting mat, quilting ruler, pins or clips, thread, and an iron for pressing seams. A sewing machine is highly recommended for accuracy and speed.
Optional materials include embroidery thread for facial features, fusible web for appliqué, and decorative elements like ribbons or buttons.
Pre-washing your fabrics is highly recommended to prevent shrinkage and color bleeding.
Preparing your materials carefully will make the process of creating the Cat & Mouse Patchwork Pattern smoother and more enjoyable.
Designing and Cutting the Cat & Mouse Shapes
The next step in the Cat & Mouse Patchwork Pattern is designing and cutting your shapes. This is where your creativity truly begins to shine.
Start by deciding on the overall layout of your quilt. You can create repeating blocks or a larger scene that tells a story.
Draw or print templates for the cat and mouse shapes. For beginners, simple silhouettes are best. More advanced quilters can experiment with detailed shapes including ears, tails, and facial features.
Trace the templates onto your chosen fabrics and carefully cut them out. Accuracy is important to ensure clean edges and a polished look.
Cut your background fabric into squares or rectangles that will serve as the base for each block.
Arrange the cat and mouse shapes on the background pieces. Try different positions until you find a composition that looks balanced and visually appealing.
You can create movement by positioning the cat as if it is chasing the mouse, or design a playful and relaxed arrangement.
Once you are satisfied with the layout, secure the shapes using pins or fusible web.
Taking time during this stage will ensure your Cat & Mouse Patchwork Pattern looks cohesive and engaging.
Sewing and Assembling the Patchwork Blocks
Now it’s time to assemble your Cat & Mouse Patchwork Pattern blocks. Begin by attaching the cat and mouse shapes to the background fabric.
Use appliqué techniques such as a zigzag stitch, blanket stitch, or hand stitching. Choose the method that best suits your style and skill level.
After securing the shapes, you can add details using embroidery. Stitch eyes, whiskers, noses, and other features to bring your characters to life.
Once all blocks are complete, arrange them in rows. Take your time experimenting with different layouts until you achieve a balanced design.
Sew the blocks together row by row, ensuring that seams align properly. Then join the rows to form the quilt top.
Press all seams carefully to maintain a neat and professional appearance.
At this stage, your Cat & Mouse Patchwork Pattern will begin to reveal its full charm and personality.
Quilting and Finishing the Quilt
With the quilt top complete, the next step in the Cat & Mouse Patchwork Pattern is quilting and finishing.
Start by creating the quilt sandwich. Lay the backing fabric flat, place the batting on top, and then position the quilt top.
Smooth out any wrinkles and secure the layers with pins or clips.
Choose a quilting style that complements your design. Straight-line quilting works well for a clean and modern look, while free-motion quilting can add texture and creativity.
Take your time during quilting, as this step enhances both durability and visual appeal.
After quilting, trim any excess fabric and prepare the edges for binding.
Attach the binding around the edges, folding it neatly and stitching it securely. This gives your quilt a polished and finished look.
Once the binding is complete, your Cat & Mouse Patchwork Pattern is ready to be used, displayed, or gifted.
Tips for a Beautiful and Professional Quilt
When working on the Cat & Mouse Patchwork Pattern, there are several tips that can help you achieve a high-quality result.
Always maintain consistent seam allowances for accurate assembly.
Press your seams after each step to keep your work neat.
Choose a balanced color palette to highlight the cat and mouse shapes.
Take your time with cutting and appliqué to ensure clean edges.
Use high-quality materials for durability.
Be patient during quilting and finishing, as these steps greatly impact the final result.
Don’t be afraid to experiment with layouts and details to make your quilt unique.
FAQ About Cat & Mouse Patchwork Pattern
Is the Cat & Mouse Patchwork Pattern suitable for beginners?
Yes, it is beginner-friendly, especially with simple shapes and basic appliqué techniques.
How long does it take to complete?
It can take several days depending on the size and complexity of the quilt.
What type of fabric is best?
Cotton fabric is ideal because it is easy to work with and durable.
Do I need a sewing machine?
A sewing machine is recommended, but hand sewing is also possible.
Can I wash the finished quilt?
Yes, use gentle washing methods to maintain its quality.
Can I customize the design?
Absolutely, this pattern is highly customizable and allows for creative expression.
Conclusion
The Cat & Mouse Patchwork Pattern is a fun, creative, and rewarding quilting project that allows you to combine storytelling with traditional patchwork techniques. Throughout this guide, you learned how to select materials, design your layout, assemble blocks, and finish your quilt with professional techniques.
By practicing the Cat & Mouse Patchwork Pattern, you can improve your quilting skills while creating something unique and full of personality. This pattern is perfect for home décor, gifts, or personal projects.

