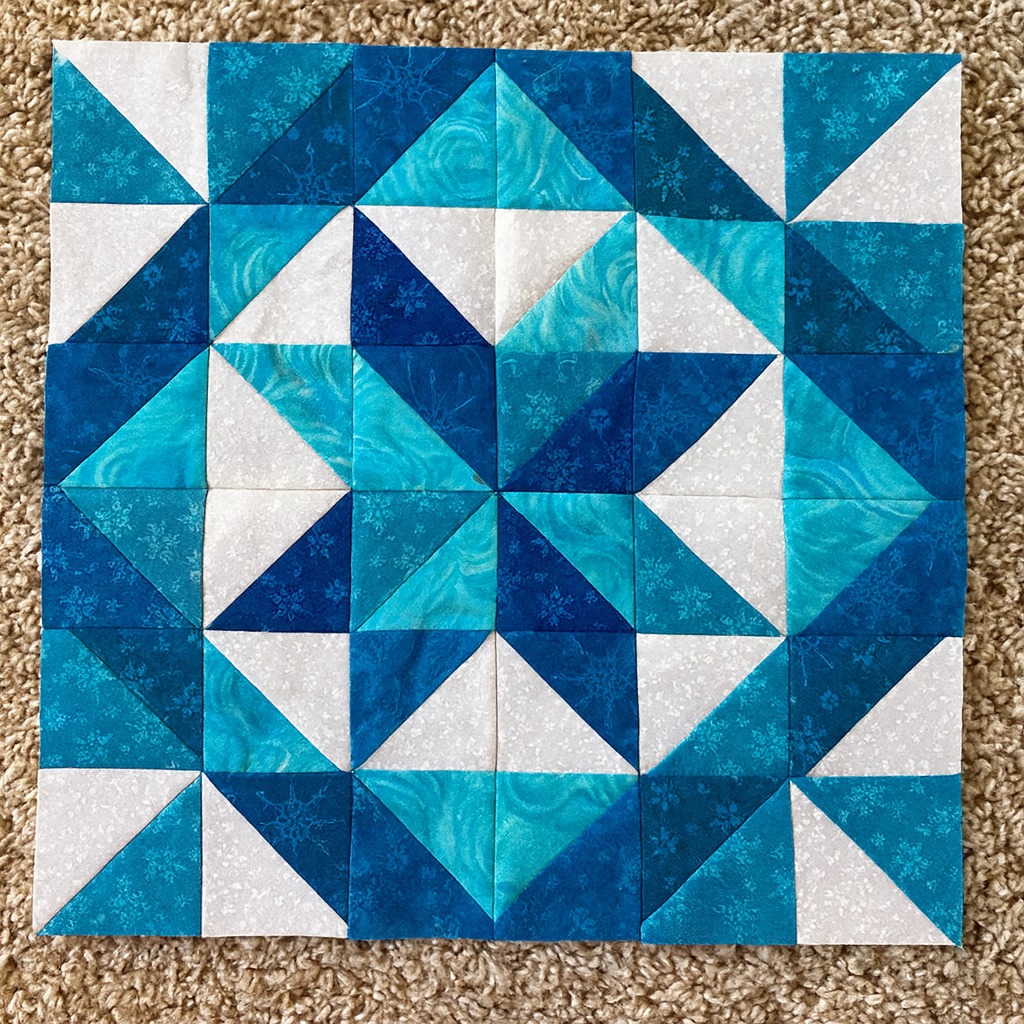
The Florida Quilt Block Pattern is a beautiful traditional quilting project that combines geometric shapes, balanced colors, and classic patchwork techniques. Known for its decorative appearance and interesting arrangement of fabric pieces, this quilt block is a wonderful choice for anyone who enjoys creating handmade quilts. Its design can feature contrasting triangles, squares, and symmetrical sections that form an attractive geometric composition. Whether you are making a complete quilt, a table runner, or a decorative cushion, this quilt block pattern offers plenty of opportunities for creativity.
One of the most enjoyable aspects of the Florida Quilt Block Pattern is the freedom to experiment with different fabric combinations. Traditional quilting fabrics in red, blue, cream, and navy create a timeless appearance, while pastel shades provide a softer and more delicate result. Bright colors can give the block a cheerful personality, making it suitable for modern quilting projects. By carefully arranging the fabric pieces, you can highlight the geometric details and create a balanced design that stands out beautifully.
This Florida Quilt Block Pattern tutorial introduces a beginner-friendly geometric interpretation of the block, using squares and half-square triangles. Because quilt blocks may appear under different names or variations, this tutorial focuses on a practical construction that can be repeated throughout a larger quilt. You will learn how to select fabrics, prepare accurate measurements, sew the individual units, assemble the block, and finish your project. With patience and attention to detail, you can create a charming handmade patchwork quilt block that celebrates traditional quilting techniques.
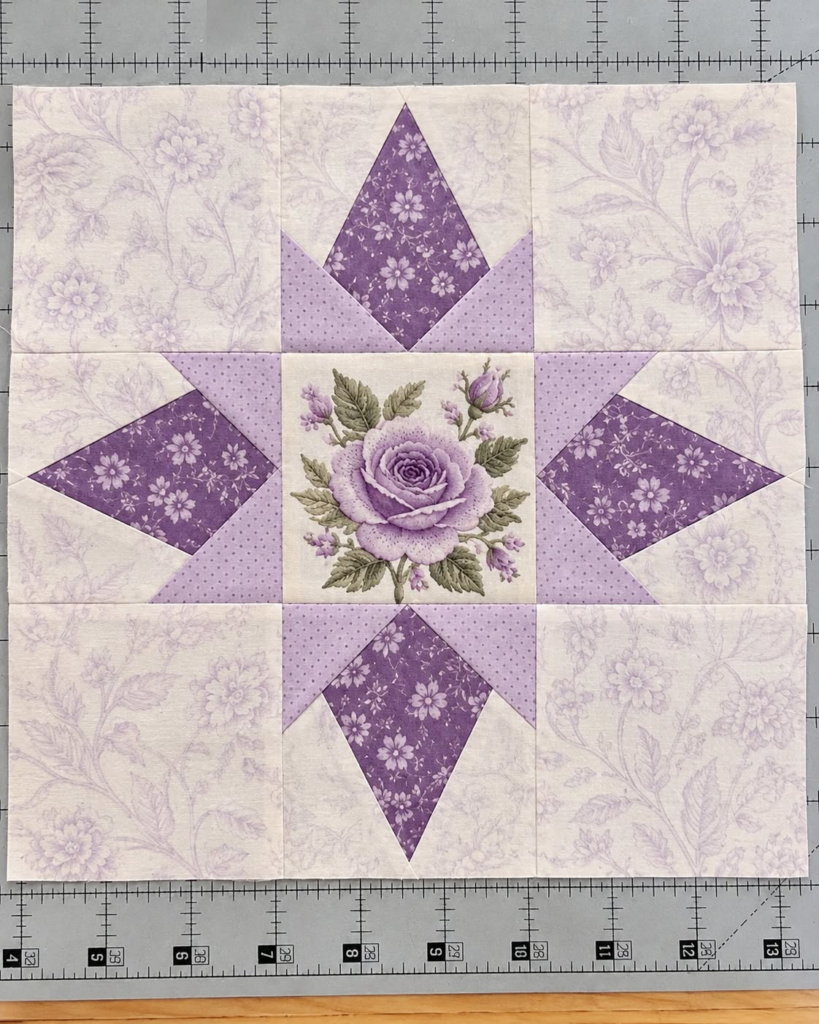
Materials and Fabric Preparation for the Florida Quilt Block Pattern
Before beginning your Florida Quilt Block Pattern, gather the essential quilting supplies. You will need cotton quilting fabric, a rotary cutter, a self-healing cutting mat, a quilting ruler, coordinating thread, pins or fabric clips, and a sewing machine. An iron and ironing board are also important for pressing seams and keeping the finished block flat.
For this tutorial, choose three coordinating fabrics. Use cream or white for the background, a medium blue for the main geometric sections, and a darker navy or contrasting color for the accent pieces. These shades create a balanced design, but you can substitute any colors that complement your quilting style.
The finished Florida quilt block will measure 12 inches square, making it suitable for many quilting projects. All cutting measurements include a standard ¼-inch seam allowance. Accurate cutting is essential because small measurement differences can affect the alignment of the finished patchwork.
To create this version, cut four 4½-inch squares from the cream background fabric. Next, cut two 5-inch squares from cream fabric and two 5-inch squares from blue fabric. These larger squares will be used to make half-square triangle units. Finally, cut one 4½-inch square from the navy accent fabric for the center.
The half-square triangle, commonly abbreviated HST, is an important quilting unit made from two triangular pieces of fabric sewn together to form a square. This technique allows quilters to create diagonal lines, geometric shapes, and decorative arrangements without sewing individual bias-cut triangles.
Before sewing, press your fabrics to remove wrinkles and check that all pieces are accurately cut. Arrange your supplies in a comfortable workspace with adequate lighting. Keeping the fabric pieces organized will make the construction process smoother and help prevent mistakes during assembly.
Step-by-Step Instructions for Sewing the Florida Quilt Block
Begin your Florida Quilt Block Pattern by preparing the half-square triangle units. Place one cream 5-inch square and one blue 5-inch square right sides together. Align their edges carefully. Using a fabric marking pencil, draw a diagonal line from one corner to the opposite corner on the wrong side of the cream square.
Sew a straight seam ¼ inch away from each side of the marked diagonal line. Once both seams are complete, cut directly along the drawn line. Open the two pieces and press the seams toward the darker fabric. You now have two half-square triangle quilt units.
Repeat the same process with the remaining cream and blue 5-inch squares. This produces four half-square triangle units in total. Trim each unit to exactly 4½ inches square, making sure the diagonal seam passes through opposite corners. Accurate trimming helps the pieces fit together correctly.
Next, arrange the nine fabric units into three horizontal rows. Place the four cream squares in the corners, the navy square in the center, and the four half-square triangles in the middle positions along each side. Rotate the triangles so their blue sections point toward the center square, creating a geometric diamond-inspired arrangement.
Begin sewing the first row by joining the three units with a consistent ¼-inch seam allowance. Press the seams carefully. Repeat the process for the second and third rows, checking the arrangement before sewing to ensure the triangles remain correctly oriented.
Finally, join the three completed rows together. Match the seam intersections and secure them with pins or clips before stitching. Press the finished block flat and check its measurements. Your completed block should measure approximately 12½ inches unfinished and 12 inches after being sewn into a quilt.
How to Assemble a Quilt Using Florida Quilt Blocks
Once you have completed your first Florida Quilt Block Pattern, you can begin planning a larger quilt. Repeating the same block creates a coordinated geometric design, while alternating fabric colors introduces additional movement and contrast. Before cutting fabric for an entire quilt, decide how many blocks you want to make.
For a small throw quilt, arrange four blocks across and five blocks down. Using 12-inch finished blocks, this arrangement produces a quilt center measuring approximately 48 by 60 inches before adding borders. You will need twenty completed blocks for this layout.
A larger Florida patchwork quilt can be created by arranging five blocks across and six blocks down. This produces a quilt center measuring approximately 60 by 72 inches. You can also add fabric sashing between blocks to separate the geometric designs and create a more spacious appearance.
Before joining the blocks, arrange them on a large table, clean floor, or design wall. Experiment with different orientations and color combinations. Rotating selected blocks can create interesting secondary patterns, while maintaining the same orientation produces a more uniform design.
Sew the blocks together into horizontal rows using a consistent seam allowance. Press the seams in alternating directions whenever practical to help the intersections nest neatly. Once the rows are complete, join them carefully, matching the corners and checking that the quilt top remains square.
After assembling the handmade quilt top, consider adding an outer border. A narrow cream border can frame the geometric blocks, while a wider blue or navy border creates a stronger contrast. Measure the quilt through the center before cutting border strips to reduce the risk of wavy edges.
Quilting Techniques, Finishing Details, and Creative Ideas
Finishing your Florida Quilt Block Pattern project involves preparing the quilt sandwich. This consists of the completed quilt top, a layer of batting, and a backing fabric. Choose batting according to your preferred warmth, thickness, and finished texture. Cotton and cotton-blend batting are popular choices for everyday quilts.
Lay the backing fabric on a flat surface with the wrong side facing upward. Smooth the batting over the backing, then place the quilt top right side up. Remove wrinkles carefully and secure the layers using safety pins or an appropriate basting method.
For beginners, straight-line quilting is an excellent finishing technique. Sew parallel lines across the quilt or follow the diagonal seams of the half-square triangles. These quilting lines emphasize the geometric structure while keeping the stitching manageable.
If you prefer a decorative finish, consider free-motion quilting with gentle curves, loops, or floral motifs. The contrast between curved quilting stitches and straight patchwork seams can create an attractive visual effect. Practice your chosen design on a fabric sample before quilting the entire project.
Once the quilting is complete, trim the excess batting and backing fabric. Prepare binding strips, join them into one continuous length, and fold the strip lengthwise with wrong sides together. Attach the binding around the quilt edges using a consistent seam allowance, mitering the corners neatly.
Complete your Florida Quilt Block quilt by securing the folded binding to the back with hand stitching or machine stitching. Press the finished quilt gently and inspect the seams. With proper care, your handmade quilt can remain a beautiful and practical part of your home for years.
Frequently Asked Questions About the Florida Quilt Block Pattern
What is the Florida Quilt Block Pattern?
The Florida Quilt Block Pattern is a name used for quilt block designs associated with traditional geometric patchwork. Designs may vary depending on the pattern source. This tutorial presents a beginner-friendly interpretation using squares and half-square triangles.
Is the Florida Quilt Block Pattern suitable for beginners?
Yes. This version uses basic cutting, straight seams, and half-square triangle construction. Beginners who understand a standard ¼-inch seam allowance can complete the block with practice.
What size is the finished Florida quilt block?
The block in this tutorial measures 12 inches square when finished. Before being joined to other blocks, it measures approximately 12½ inches, including seam allowances.
What fabrics work best for this quilt block?
Quilting cotton is an excellent choice because it is easy to cut, press, and sew. Fabrics with contrasting colors or values help emphasize the geometric design.
How many Florida quilt blocks do I need for a quilt?
The number depends on your desired quilt dimensions. For example, twenty 12-inch blocks arranged in four columns and five rows create a 48-by-60-inch quilt center.
What is a half-square triangle in quilting?
A half-square triangle is a square patchwork unit made from two fabric triangles joined along a diagonal seam. It is commonly used in traditional and modern quilt designs.
Why are my quilt block corners not matching?
Misaligned corners often result from inaccurate cutting, inconsistent seam allowances, or uneven pressing. Carefully trimming each unit and pinning seam intersections can improve accuracy.
Can I make the Florida Quilt Block Pattern using fabric scraps?
Absolutely. This design works well with leftover quilting cotton. Choose scraps with enough contrast to make the geometric arrangement clearly visible.
Can I sew this quilt block by hand?
Yes. Although a sewing machine makes construction faster, you can sew the pieces by hand using small, consistent running stitches and accurate seam allowances.
What quilting design looks best with this pattern?
Straight-line quilting complements the geometric shapes, while free-motion curves create a softer appearance. Both methods can produce attractive results.
Can I use this quilt block for smaller projects?
Yes. A single block can become a decorative cushion cover, while several blocks can be combined into a table runner, wall hanging, or small quilt.
How should I wash a finished patchwork quilt?
Follow the care instructions for the fabrics and batting. Many cotton quilts can be washed gently in cool water with mild detergent. Dry according to the materials used and avoid excessive heat.
Conclusion: Create Your Own Florida Quilt Block Pattern
The Florida Quilt Block Pattern is a wonderful way to practice traditional quilting techniques while creating a beautiful geometric design. By combining carefully cut squares, half-square triangles, and contrasting fabrics, you can produce an attractive block suitable for many handmade projects. The construction process encourages accuracy, creativity, and confidence in basic patchwork sewing.