
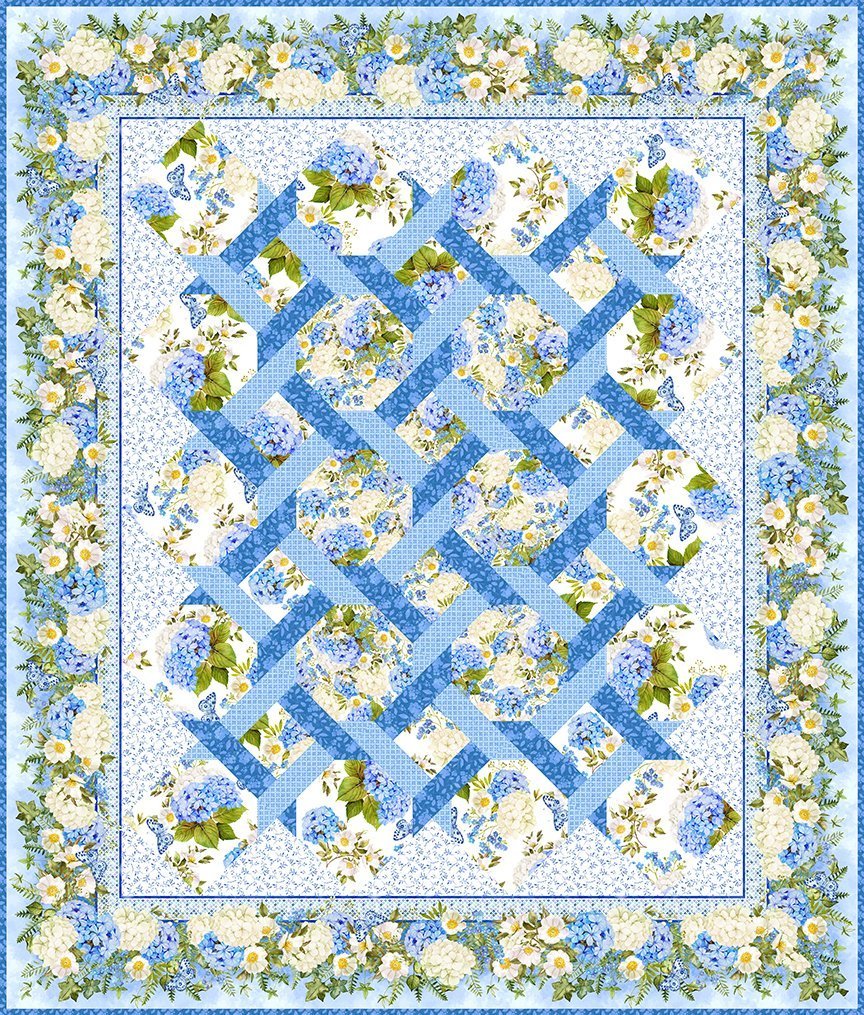
Garden Twist Quilt Pattern – Step-by-Step is a beautiful quilting design that creates the illusion of motion and depth using smart fabric placement and rotated blocks. The Garden Twist Quilt Pattern – Step-by-Step method is especially popular among quilters who want a dynamic layout without complicated templates. With the right strip sets and block rotation, you can produce a striking quilt that looks intricate but is very achievable.
The appeal of the Garden Twist Quilt Pattern – Step-by-Step approach comes from its visual movement. The “twist” effect appears when contrasting strips are cut and arranged into blocks that rotate across the quilt top. Even simple color combinations can look advanced when organized with this technique. It is a favorite for both modern and traditional fabric collections.
Another advantage of the Garden Twist Quilt Pattern – Step-by-Step project is flexibility. You can scale the quilt size easily, adjust color intensity, and control the twist effect by changing strip width and contrast. In this complete guide, you will learn fabric selection, cutting strategy, block construction, layout planning, assembly, and finishing — all written in a clear, SEO-optimized, humanized format.
Choosing Fabrics for Garden Twist Quilt Pattern – Step-by-Step
Fabric choice determines how strong the motion effect appears in the Garden Twist Quilt Pattern – Step-by-Step. High contrast between strips produces a bold twist, while low contrast creates a softer, flowing look. Decide early whether you want dramatic or subtle movement.
Select at least three value levels for a successful Garden Twist Quilt Pattern – Step-by-Step: light, medium, and dark. Value contrast matters more than color family. Even different shades of the same color can work if their brightness differs enough.
Print scale is also important in the Garden Twist Quilt Pattern – Step-by-Step layout. Small to medium prints or solids work best because they keep the twist lines visually clear. Very large prints can hide the rotation effect.
Color harmony improves the final result of your Garden Twist Quilt Pattern – Step-by-Step. Choose fabrics that share undertones or belong to a coordinated bundle so the quilt feels unified instead of chaotic.
Background strips should rest the eye. Many Garden Twist Quilt Pattern – Step-by-Step quilts include one calmer fabric that balances the stronger twist strips and prevents visual overload.
Always test placement before cutting everything. Lay your chosen fabrics side by side to preview how the Garden Twist Quilt Pattern – Step-by-Step contrast will read from a distance.
Cutting and Strip Preparation for Garden Twist Quilt Pattern – Step-by-Step
Accurate cutting is the foundation of the Garden Twist Quilt Pattern – Step-by-Step technique. Most versions begin with long fabric strips cut to equal width. Consistency here ensures clean block alignment later.
Common strip widths for a Garden Twist Quilt Pattern – Step-by-Step range from 2½ to 4 inches. Wider strips create larger twists and a faster quilt top, while narrower strips produce more detailed motion.
Cut multiple strips from each fabric to maintain repetition across the Garden Twist Quilt Pattern – Step-by-Step layout. Repetition is what makes the twist pattern readable across the quilt surface.
After cutting, group strips into planned sequences. Each strip set in the Garden Twist Quilt Pattern – Step-by-Step should follow the same color order so the twist effect stays consistent.
Press strips before sewing. Flat, straight strips improve seam accuracy in the Garden Twist Quilt Pattern – Step-by-Step assembly and reduce distortion.
Label your strip groups if needed. Organization helps prevent mix-ups during the repetitive sewing stages of the Garden Twist Quilt Pattern – Step-by-Step process.
Sewing Strip Sets and Building Blocks in Garden Twist Quilt Pattern – Step-by-Step
Strip sets are the engine of the Garden Twist Quilt Pattern – Step-by-Step design. Sew your grouped strips together lengthwise using a consistent seam allowance. Keep feeding strips in the same order.
Chain piecing speeds up the Garden Twist Quilt Pattern – Step-by-Step workflow. Sewing multiple strip sets without cutting thread between them saves time and improves consistency.
Press seams in one direction for each strip set. Consistent pressing helps your Garden Twist Quilt Pattern – Step-by-Step blocks nest better when joined.
After sewing strip sets, subcut them into equal segments. These segments become the building units of the Garden Twist Quilt Pattern – Step-by-Step blocks.
Rotate segments before joining. The twist illusion in the Garden Twist Quilt Pattern – Step-by-Step appears when strip segments are turned and recombined in alternating directions.
Check block size after assembly. Every block in your Garden Twist Quilt Pattern – Step-by-Step should match exactly so the layout lines remain straight.
Layout and Twist Effect in Garden Twist Quilt Pattern – Step-by-Step
Layout is where the Garden Twist Quilt Pattern – Step-by-Step truly comes alive. Arrange finished blocks on a design wall or floor before sewing rows together. Rotation direction matters.
Alternate block rotation to create flow. The signature motion in a Garden Twist Quilt Pattern – Step-by-Step comes from turning blocks so strip angles appear to spin across the quilt.
Step back and view from a distance. The twist paths in your Garden Twist Quilt Pattern – Step-by-Step are easier to evaluate from several feet away.
Adjust color distribution if needed. Move blocks around until the Garden Twist Quilt Pattern – Step-by-Step shows balanced contrast across the entire layout.
Photograph your layout. A quick photo helps you spot gaps or heavy areas in the Garden Twist Quilt Pattern – Step-by-Step design before final assembly.
Keep rows organized after finalizing placement. Numbering rows preserves your chosen Garden Twist Quilt Pattern – Step-by-Step arrangement during sewing.
Assembling and Finishing Garden Twist Quilt Pattern – Step-by-Step
Sew blocks into rows carefully to preserve alignment in the Garden Twist Quilt Pattern – Step-by-Step top. Match seam intersections and pin where strips meet.
Press row seams in alternating directions. This helps rows lock together neatly in your Garden Twist Quilt Pattern – Step-by-Step assembly.
Join rows slowly and check alignment often. Long seams can shift, and accuracy keeps the twist lines clean in the Garden Twist Quilt Pattern – Step-by-Step result.
Add borders if desired. Borders can frame the motion of the Garden Twist Quilt Pattern – Step-by-Step and increase final quilt size.
Choose quilting lines that support movement. Diagonal or curved quilting enhances the spinning feel of the Garden Twist Quilt Pattern – Step-by-Step design.
Bind with a coordinating fabric. A well-chosen binding completes the Garden Twist Quilt Pattern – Step-by-Step quilt with a professional finish.
FAQ About Garden Twist Quilt Pattern – Step-by-Step
Is Garden Twist Quilt Pattern – Step-by-Step good for beginners
Yes. It looks complex but uses straight strip piecing and block rotation, which many beginners can handle with careful cutting.
How much contrast do I need for Garden Twist Quilt Pattern – Step-by-Step
At least one strong light-to-dark contrast is recommended so the twist effect is visible.
What strip width is best for Garden Twist Quilt Pattern – Step-by-Step
Medium widths like 2½–3 inches balance detail and speed well.
Can I make Garden Twist Quilt Pattern – Step-by-Step with scraps
Yes, as long as scrap strips are consistent in width and value contrast is planned.
Do I need special rulers for Garden Twist Quilt Pattern – Step-by-Step
No special rulers are required beyond standard quilting rulers for strip cutting and squaring.
What quilting style fits Garden Twist Quilt Pattern – Step-by-Step best
Diagonal, spiral, or echo quilting lines enhance the motion effect nicely.
Conclusion
The Garden Twist Quilt Pattern – Step-by-Step method transforms simple strip piecing into a dynamic quilt full of motion and visual energy. You learned how to select fabrics by value, cut and organize strips, sew strip sets, build rotated blocks, plan the twist layout, and assemble and finish the quilt with precision. With careful contrast and consistent cutting, this pattern delivers impressive results without complex templates.

