
The Weathervane Quilt Block Pattern is one of the most beloved and timeless designs in the quilting world. Known for its elegant symmetry and traditional charm, this pattern has graced quilts for generations, symbolizing both direction and creativity.
What makes the Weathervane Quilt Block Pattern so captivating is its combination of simplicity and sophistication. Its geometric balance, featuring squares and triangles forming a central “weathervane” shape, gives it an appealing visual flow.
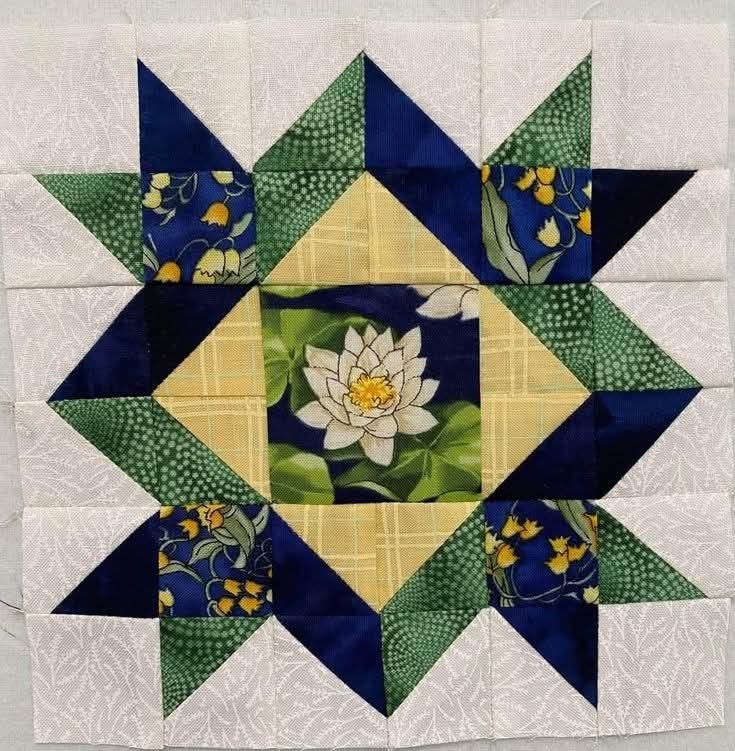
Another reason quilters love the Weathervane Quilt Block Pattern is its endless customization possibilities. From muted country tones to bold contemporary fabrics, every choice reflects your unique taste and story.
History and Meaning Behind the Weathervane Quilt Block
The Weathervane Quilt Block Pattern dates back to the 19th century, when quilts often held deep symbolism and personal significance. Many early American quilters used this block to represent guidance and direction, inspired by the weathervanes that adorned barns and homes. Each quilt block told a story, and this one spoke of movement, freedom, and adaptability.
In its early days, this pattern was stitched by hand using scraps of fabric collected from clothing or household textiles. Quilters often passed down their versions of the Weathervane Quilt Block through generations, preserving both family history and artistic tradition. This heritage makes the pattern more than just a design—it’s a piece of cultural storytelling.
The traditional structure of the Weathervane block consists of a nine-patch layout, where each smaller square contributes to the overall spinning effect. The dynamic visual created by the alternating triangles and squares gives the illusion of rotation, reminiscent of an actual weathervane turning in the wind.
Today, the Weathervane Quilt Block Pattern continues to inspire quilters worldwide. While technology and tools have evolved, the essence of this design remains untouched—bridging past and present through fabric and thread. Modern quilters often experiment with digital templates or pre-cut fabric kits, but the soul of the pattern still lies in its handcrafted roots.
Many quilting enthusiasts appreciate how this design connects them with the rich history of traditional quilting. By sewing a Weathervane block, you not only create something beautiful but also participate in a timeless art form that honors generations of makers.
If you’re interested in quilting that combines history, creativity, and meaning, the Weathervane Quilt Block Pattern is the perfect project to explore. Its beauty lies in both its construction and its story.
How to Create the Perfect Weathervane Quilt Block
To start your Weathervane Quilt Block Pattern, you’ll need basic quilting tools: a rotary cutter, ruler, cutting mat, sewing machine, and an assortment of fabrics. Select fabrics with contrasting colors or patterns to make the block’s shapes stand out clearly. The most common block size is 12 inches finished, but you can adjust dimensions based on your project.
Begin by cutting your fabrics according to a standard Weathervane layout—typically, you’ll need several squares and half-square triangles (HSTs). Precision in cutting is essential, as even slight deviations can affect the symmetry of your final design. Using a rotary cutter ensures clean, sharp edges for seamless assembly.
Next, assemble the block starting from the center square and working outward. The middle of the Weathervane Quilt Block often features a solid or patterned fabric that serves as a focal point. Surround this with triangle units, alternating light and dark fabrics to enhance the visual spinning effect.
When sewing, use a consistent quarter-inch seam allowance throughout your project. Press seams open or to one side based on your preference, ensuring the block lays flat and maintains its crisp lines. Accurate pressing helps align corners neatly, giving your Weathervane Quilt Block Pattern a professional finish.
Once your block is assembled, trim any uneven edges before joining it with other blocks. If you plan to make a full quilt, consider alternating the Weathervane blocks with solid squares or complementary patterns to add visual interest and balance.
Finally, quilt and bind your finished piece according to your preferred method. Some quilters choose intricate quilting stitches to highlight the movement of the weathervane design, while others opt for simple straight lines that emphasize the geometry.
Fabric Choices and Color Inspiration
Choosing fabrics for your Weathervane Quilt Block Pattern is where your creativity truly shines. Because the pattern relies on clear contrasts, color selection plays a major role in defining its visual impact. Traditionally, quilters used deep reds, navy blues, and creamy whites to reflect a rustic Americana feel. However, modern versions can embrace any color palette—from pastel florals to bold geometric prints.
For a traditional look, select reproduction fabrics that echo vintage styles. These typically feature small floral prints or classic patterns that pair well with muted tones. Such combinations give your quilt a nostalgic charm, reminiscent of 19th-century farmhouse quilts.
If you prefer a contemporary aesthetic, experiment with solid colors and minimalist designs. High-contrast fabrics, such as black and white or navy and mustard, create a striking effect that highlights the weathervane’s rotational motion.
Texture can also enhance the depth of your Weathervane Quilt Block Pattern. Try mixing cottons with linen or using fabrics that have slight texture variations. This adds dimension and tactile appeal to your quilt, making it more dynamic.
Seasonal color schemes work beautifully with this block as well. Soft pastels evoke springtime freshness, while warm autumn shades create a cozy and inviting appearance. The key is maintaining contrast between light and dark fabrics so that the pattern’s structure remains visible.
Tips for Mastering the Weathervane Quilt Block Pattern
Even though the Weathervane Quilt Block Pattern is beginner-friendly, mastering its details can elevate your quilting skills. Start by focusing on accuracy—both in cutting and stitching. Small errors can multiply across the quilt, so take your time and measure carefully before sewing.
Using a design wall or layout board helps visualize your blocks before sewing them together. This allows you to rearrange colors and patterns until you achieve the perfect balance. It’s an excellent tool for spotting potential mistakes early on.
Chain piecing—sewing multiple pieces together in one continuous line—can save time and keep your seams consistent. This technique is especially useful when assembling multiple Weathervane blocks for a larger project.
Another essential tip is pressing your seams as you go. Pressing (not ironing) keeps the fabric from stretching and distorting. A crisp, flat block not only looks cleaner but also ensures easier alignment when joining multiple blocks.
When quilting your finished top, consider designs that complement the flow of the Weathervane. Swirling or circular quilting patterns can emphasize its movement, while straight-line quilting highlights its symmetry.
Lastly, don’t be afraid to experiment. The Weathervane Quilt Block Pattern is versatile enough to handle creative interpretations. Try using unexpected color combinations or adding embellishments like embroidery to personalize your design.
FAQ – Weathervane Quilt Block Pattern
1. What size should I make my Weathervane Quilt Block?
Most quilters choose a 12-inch finished block, but you can resize it to fit your quilt layout. Smaller blocks are great for pillows or table runners, while larger ones create a bold centerpiece.
2. Is the Weathervane Quilt Block Pattern suitable for beginners?
Yes! It’s an excellent choice for beginners because it teaches fundamental skills like cutting, piecing, and color contrast while still being visually impressive.
3. What fabrics work best for this pattern?
Cotton fabrics are the most common choice, offering durability and ease of handling. You can also experiment with linen blends or batiks for texture and depth.
4. Can I make this block using scraps?
Absolutely! The Weathervane Quilt Block Pattern is perfect for scrap quilting. Mix leftover fabrics from past projects to create a colorful, sustainable piece.
5. How can I make my seams align perfectly?
Use pins or clips to hold seams in place before stitching, and always press your seams carefully. Consistency in seam allowance makes alignment much easier.
6. Can I use modern colors with this traditional pattern?
Yes. While traditional versions use muted tones, modern quilters often experiment with bright or contrasting colors for a contemporary twist.
Conclusion
The Weathervane Quilt Block Pattern stands as a timeless favorite among quilters of all levels. Its graceful geometry, historical roots, and adaptability make it a truly special addition to any quilt. Whether you’re honoring traditional craftsmanship or exploring modern interpretations, this block offers endless creative potential.

