
Thistle Bloom Block Pattern is a beautiful quilting project that combines floral inspiration with the precision and creativity of patchwork. Inspired by the distinctive shape and rich colors of the thistle flower, this block can bring texture, movement, and natural beauty to a handmade quilt. Purple, lavender, green, cream, and other coordinating fabrics can create a traditional botanical appearance, while modern color combinations can completely transform the design. Whether used as a single decorative block or repeated across a larger quilt, the Thistle Bloom Block Pattern offers many possibilities for creative fabric selection and personal expression.
One of the most appealing features of the Thistle Bloom Block Pattern is the way small fabric pieces can work together to suggest petals, leaves, and the characteristic shape of a blooming thistle. A finished block may look detailed when viewed as a whole, but the construction becomes much easier when divided into smaller units. Each section can be cut, sewn, pressed, and checked before the complete block is assembled. This organized approach helps quilters maintain accuracy while enjoying the gradual transformation of simple fabric pieces into a recognizable floral-inspired design.
Making a thistle quilt block is also an excellent opportunity to practice important quilting skills. Accurate cutting, consistent seam allowances, careful pressing, color placement, matching points, and block trimming all contribute to the final result. The pattern can be interpreted with solids, batiks, small prints, tonal fabrics, or favorite scraps. A traditional version may feature purple flowers and green leaves, while a contemporary version might use teal, coral, gold, navy, or other unexpected shades. This guide explains the materials, color planning, cutting, construction, assembly, creative variations, finishing ideas, and frequently asked questions related to creating a beautiful Thistle Bloom Block Pattern.
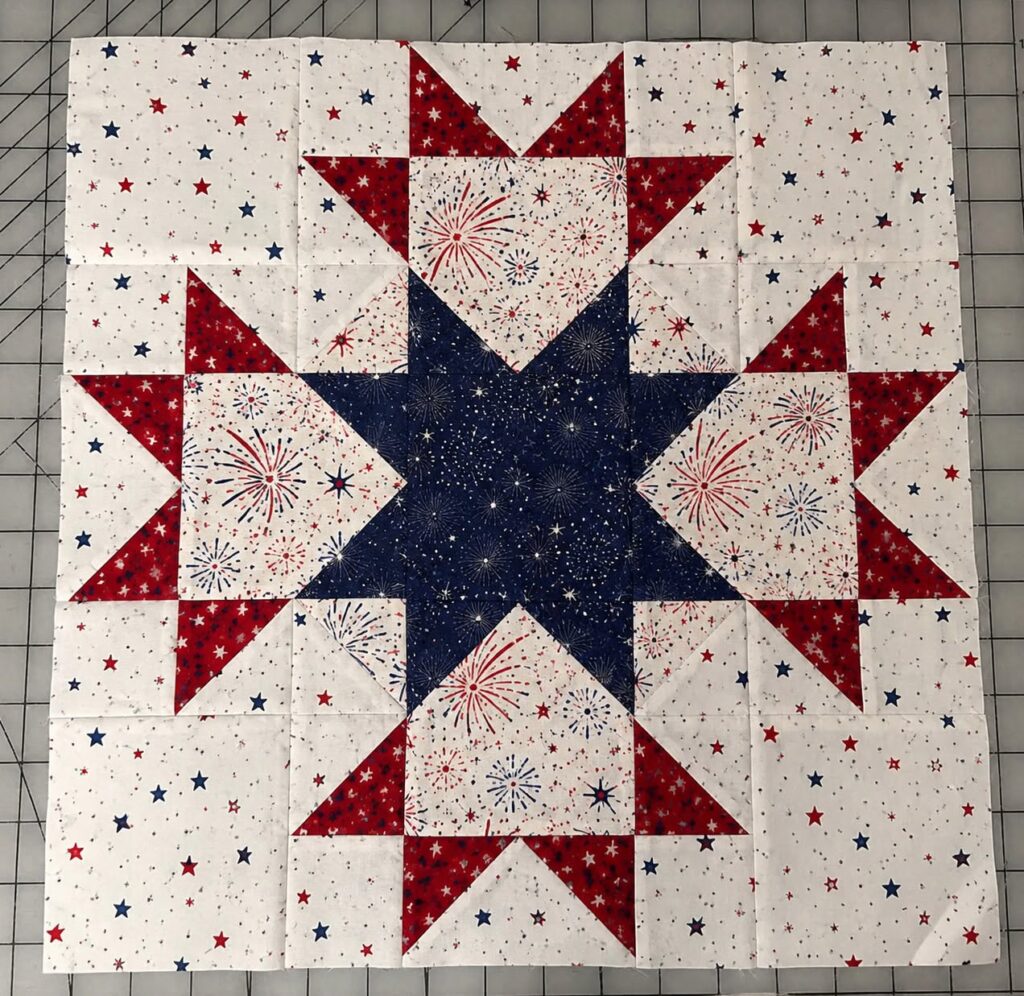
Choosing Fabrics, Colors, and Materials for the Thistle Bloom Block
The first step in creating the Thistle Bloom Block Pattern is selecting fabrics that clearly define the different areas of the design. Good-quality quilting cotton is an excellent choice because it is stable, easy to cut, and comfortable to sew. Fabrics with similar weights usually work best because they respond consistently during piecing and pressing.
Traditional thistle colors provide a natural starting point. Deep purple, violet, lavender, and plum can be combined to create the flower, while several shades of green can suggest leaves and stems. Cream, white, pale gray, or soft beige can create a calm background that allows the thistle bloom quilt block to remain the main focus.
Color value is especially important in a floral quilt block. Light, medium, and dark fabrics help separate the different shapes and create visual depth. If every purple fabric has approximately the same value, the petal sections may blend together. Combining deep violet with medium purple and pale lavender can make the flower easier to recognize.
The background fabric also affects the final appearance. A light background can create a fresh traditional look, while a dark background may produce a dramatic modern design. Low-volume prints can add subtle texture without distracting from the flower. Choose a background that provides enough contrast with the main thistle quilt pattern.
Essential tools include fabric, coordinating thread, a sewing machine, rotary cutter, self-healing cutting mat, acrylic quilting ruler, pins or clips, iron, and ironing surface. A quarter-inch presser foot can help maintain consistent seams. A sharp needle and good lighting are also useful when working with smaller pieces.
Before cutting fabric for an entire quilt, make one sample block. A practice Thistle Bloom Block Pattern allows you to test the color placement, seam allowance, pressing direction, and finished dimensions. If adjustments are necessary, it is much easier to make them after one block than after many sets of pieces have already been prepared.
Cutting and Sewing the Thistle Bloom Block Pattern
Begin by pressing all fabrics before cutting. Wrinkles and folds can affect measurements, especially when the block contains small pieces. Organize the fabrics by purpose, such as flower sections, leaves, stems, and background. This preparation makes the cutting process more efficient.
Use a sharp rotary cutter and reliable quilting ruler to prepare the pieces. Cut carefully and avoid stacking too many fabric layers at once. Small measurement differences can become more noticeable when several pieces meet at one point. Accuracy during cutting creates a stronger foundation for the entire Thistle Bloom Block Pattern.
After cutting, label similar pieces if necessary. Small notes or organized containers can prevent confusion when the design includes several shapes in different colors. Keep all the pieces for one block together. This simple habit can save time and reduce the possibility of sewing the correct piece in the wrong position.
Arrange the complete block on a flat surface before sewing. Check the position of the flower, leaves, and background pieces. Make sure directional prints are facing the intended way. Taking a reference photograph can be helpful when moving the pieces from the cutting area to the sewing machine.
Sew smaller units first and gradually combine them into larger sections. Maintain a consistent quarter-inch seam allowance unless the chosen construction method requires something different. Do not pull the fabric through the machine. Guide it gently and allow the feed dogs to move the pieces naturally.
Press each seam carefully after sewing. Set the stitches first, then press the seam in the planned direction. Avoid moving the iron aggressively across the fabric because this can stretch smaller or angled pieces. Careful pressing helps the thistle flower quilt block remain flat and accurately shaped.
Assembling the Quilt Blocks and Creating a Finished Quilt
Once the smaller units are complete, arrange them again before final assembly. This gives you an opportunity to confirm the orientation of every section. Compare the developing block with your planned layout and correct any misplaced units before sewing the larger sections together.
Join the units carefully, matching important intersections and points. Use pins or clips when necessary to prevent shifting. Sew at a steady pace and check the seam before pressing. Accurate intersections can make the finished Thistle Bloom Block Pattern look polished and balanced.
After the block is assembled, measure it before trimming. Place a square quilting ruler over the block and check that the main design is centered. Trim only when necessary. Excessive trimming can reduce the seam allowance or change the proportions of the flower.
When making several blocks, use the first successful block as a reference. Compare the dimensions and color placement as you continue. Consistent blocks are easier to arrange and join. Small differences may be manageable, but careful construction reduces the need for adjustments later.
Arrange the completed thistle quilt blocks on a design wall, clean floor, or large table. Experiment with different layouts before joining them. The blocks can be placed in straight rows, alternated with simple background blocks, or combined with coordinating patchwork designs.
Once the layout is finalized, sew the blocks into rows and join the rows to complete the quilt top. Borders can be added if desired. Prepare the quilt sandwich with backing and batting, quilt the layers together, trim the edges, and finish the project with quilt binding.
Creative Variations, Helpful Tips, Frequently Asked Questions, and Conclusion
A traditional Thistle Bloom Block Pattern can use realistic flower colors such as purple, lavender, and green. Combining several shades within the bloom can create depth, while a neutral background keeps the design easy to see. Small floral prints can add extra detail.
For a modern version, experiment with unexpected colors. Teal and coral, navy and gold, or black and white can create a bold interpretation. The block does not need to copy a real flower. Creative color choices can give the traditional botanical inspiration a completely new personality.
Scrap fabrics are another excellent option. Sort scraps by color and value before cutting. Use several related purple prints for the flower and multiple greens for the leaves. A consistent background can help connect the different fabrics in a scrappy thistle quilt.
The block can also be used for smaller projects. A single thistle bloom quilt block may become a pillow cover, tote bag panel, wall hanging, or table centerpiece. Several blocks can create a table runner or small lap quilt.
Accuracy improves with consistent habits. Check the seam allowance regularly, press after each stage, and measure units before final assembly. If one section appears uneven, identify the problem before continuing. Small corrections made early can prevent larger issues later.
Most importantly, enjoy the creative process. The Thistle Bloom Block Pattern provides structure while still allowing plenty of freedom with fabric, color, layout, and quilting style. Every finished version can reflect the individual preferences of the person who made it.
Conclusion
The Thistle Bloom Block Pattern combines floral inspiration with the satisfying precision of patchwork. Through careful fabric selection, accurate cutting, organized piecing, consistent seams, and thoughtful pressing, quilters can create a beautiful block inspired by the distinctive shape and colors of the thistle flower.
Throughout this guide, you learned about choosing fabrics, understanding color value, preparing pieces, sewing smaller units, assembling the complete block, arranging multiple blocks, adding borders, quilting the layers, and completing the project with binding.

